It’s about that time again! Yes gardening time:) I can’t even begin to tell you how much I love, Love, LOVE to put my toes in freshly tilled soil. Oh My Gosh! LOVE. IT. Bring on the tomatoes! Bring on the squash! Bring on the okra! More on that later…since we’ve not started actually planting anything yet. Until then, I’ve decided to share some of my all time favorite books about gardens and gardening
Enjoy,
That Book Mama
0-4 Years
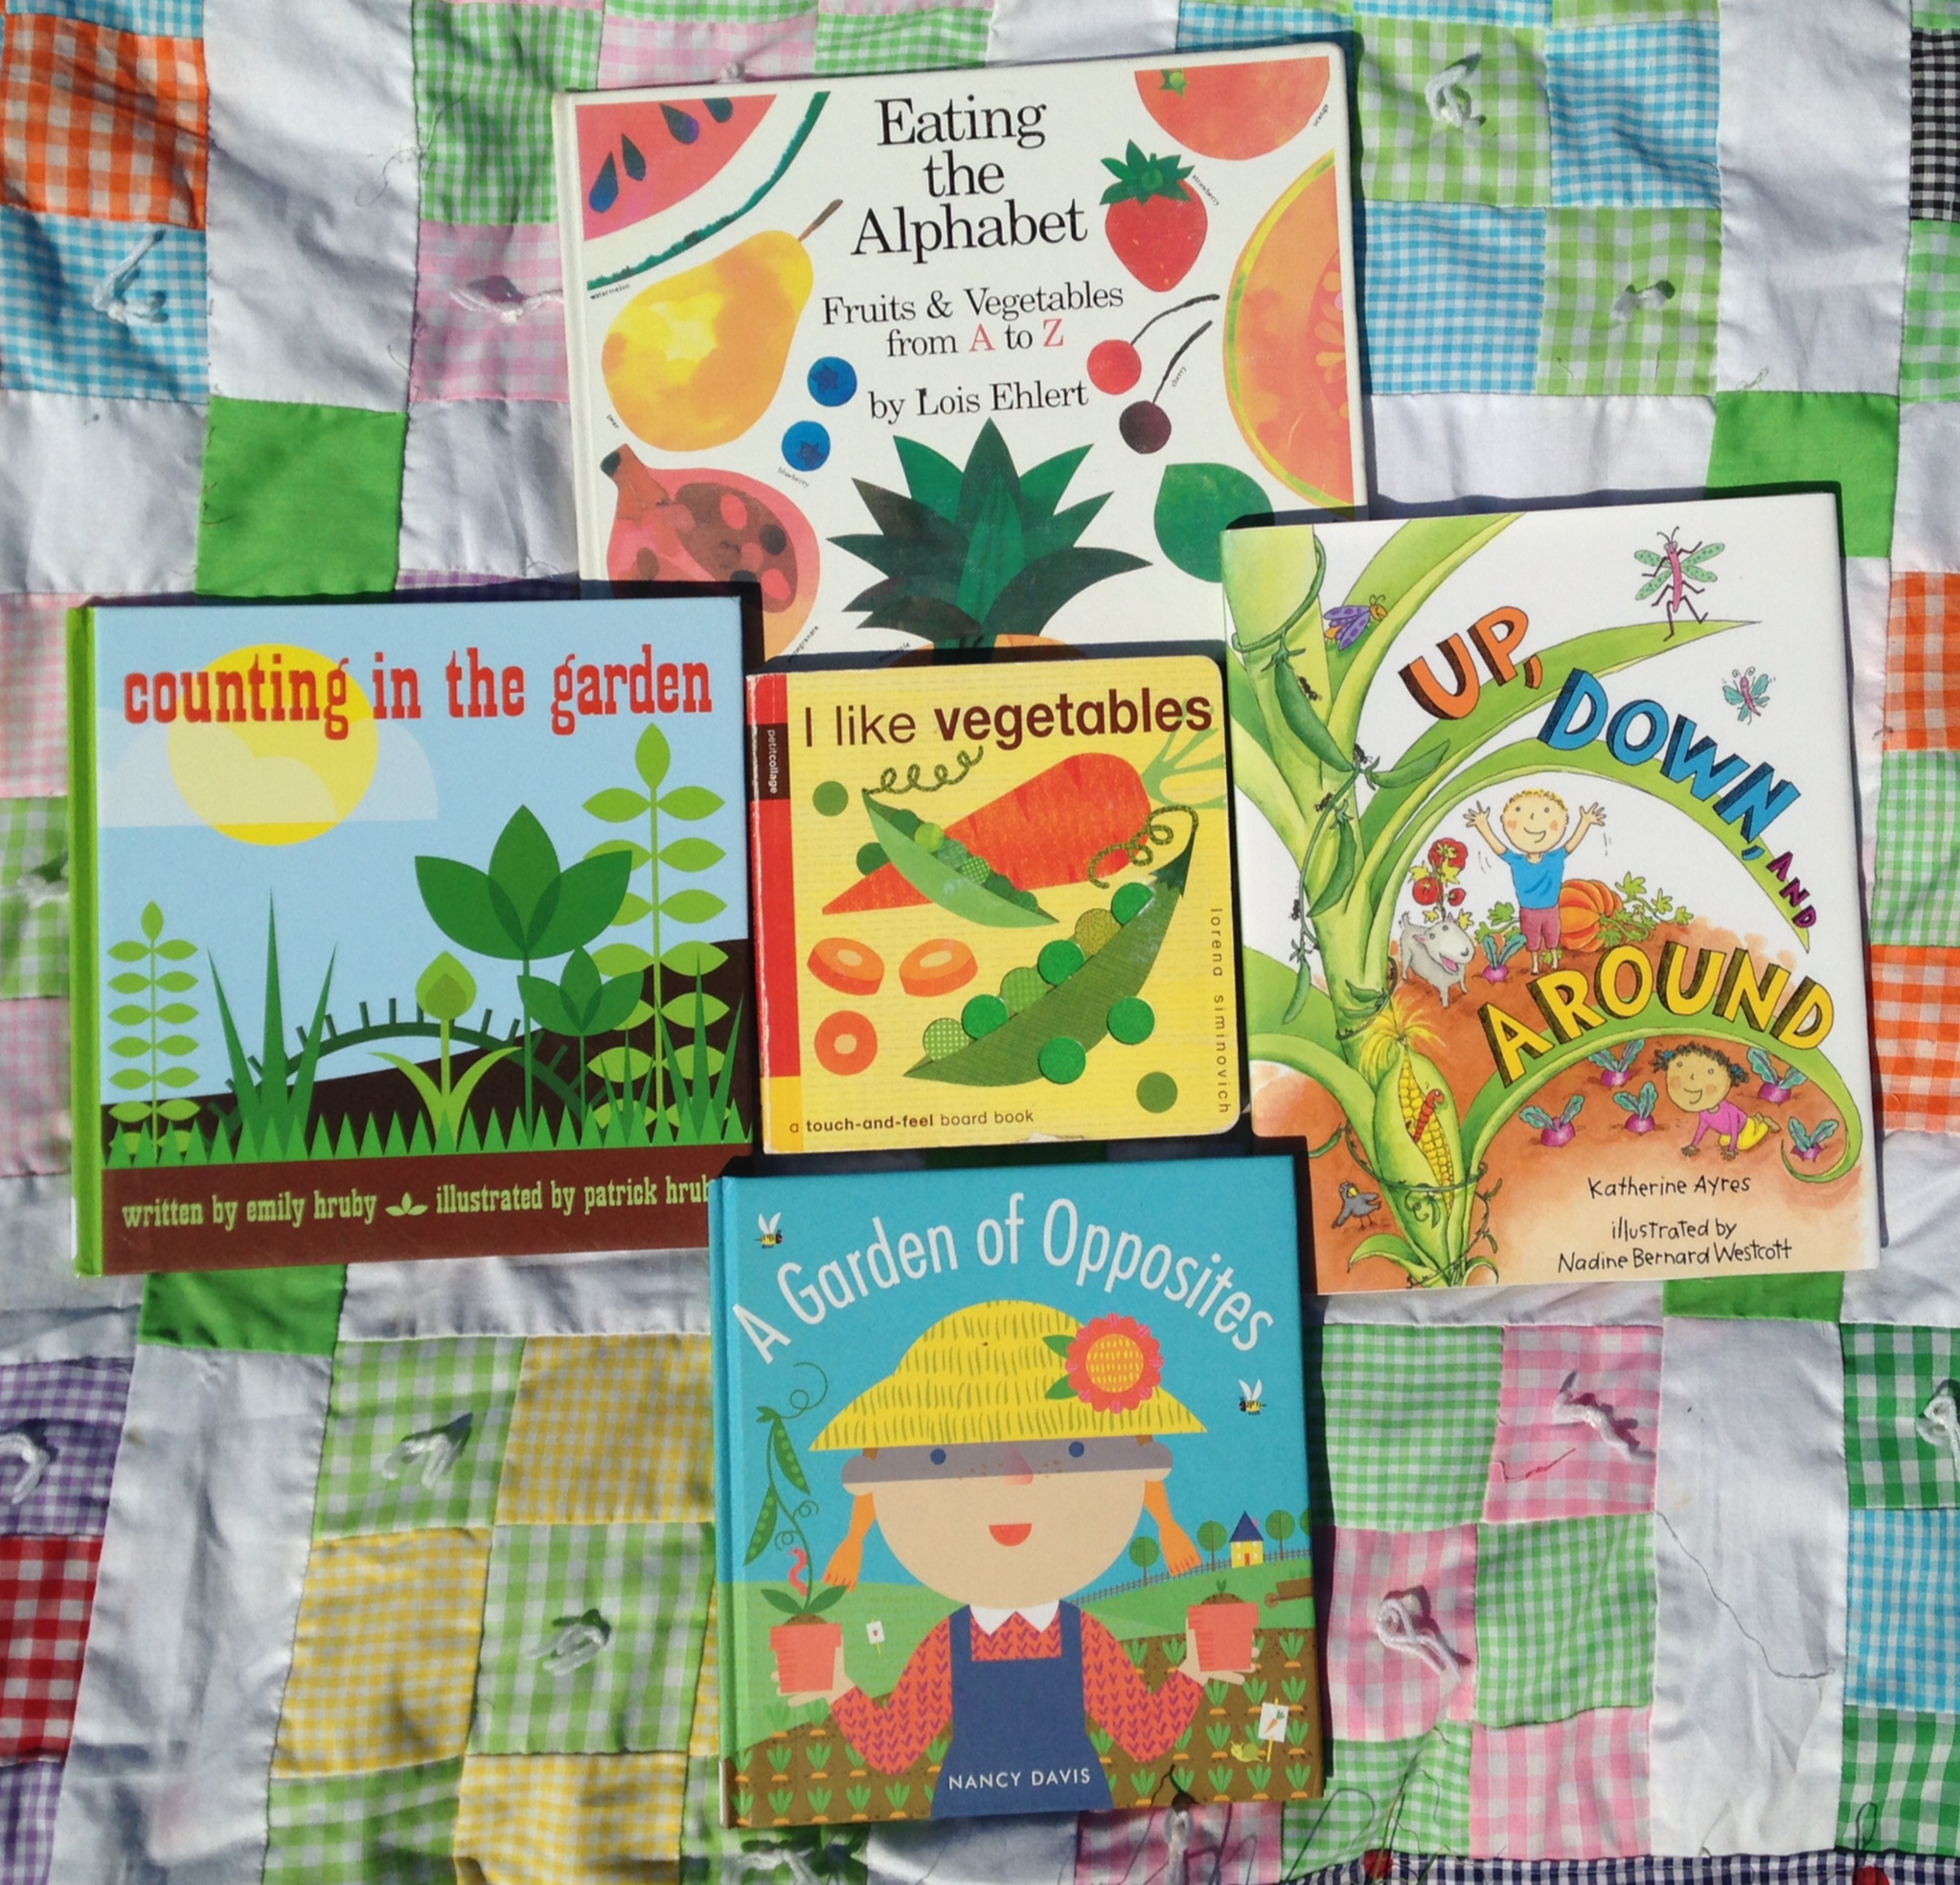
I Like Vegetables – By Lorena Siminovich A beautiful board book with bright colors and a bonus…touch and feel! This is the perfect gardening book to start your little one off right. Each page has a few words and a different picture to touch. For sure one they will want to read again and again.
A Garden Of Opposites – By Nancy Davis Again, with bright colors and few words, this book is perfectly simple. Opposites never looked prettier.
Up, Down and Around – By Katherine Ayres It’s the story of a garden from beginning to end. Tells all about how some veges grow up and some grow down while others grow around and around. By the end, I’m ready to eat some and so are the characters in the book:)
Counting In The Garden – By Emily Hruby I’m just gonna say it…not the best cover art. This is a perfect example of not judging a book by the cover. Once you get past the cover though, amazing! Flowers and vegetables and worms, oh my! Love it!
Eating The Alphabet – By Lois Ehlert This book does nothing but make me want a snack. It flows through the alphabet with colorful illustrations of fruits and vegetables good enough to eat. I’m not gonna lie, some things I’ve never tried. I think if it makes me want to try something I’ve never had before then surely other folks would feel the same:)

5-7 Years
Over In The Garden – By Jennifer Ward Rhyming Song, Yay! This book could actually be read to younger children but I’ve put it in an older category because it has a fact section in the back. Count your way through the garden and see a whole slew of insects along the way.
The Gardener – By Sarah Stewart Through a series of letters, Lydia Grace tells the story of her going to live with her uncle in the city until her parents can get on their feet. Lydia Grace was growing up during the time of The Great Depression and during that time everyone was well…depressed. She was determined to make her Uncle Jim smile and by her actions, she made his world a little brighter. Truth time…I teared up. Excellent book!
And The Good Brown Earth – By Kathy Henderson This book actually starts in the fall and tells the story of a grandma and a grandson who tend to the garden patch all year long. Having a garden is a lot of work but in the middle of all of that work, there’s always time to play.
The Ugly Vegetables – By Grace Lin When a little girl and her Mom start their garden, they look around and see that their neighbors are doing the same, with one exception. Everyone else was planting flowers and they were planting Chinese veges. The little girl was rather disheartened when she saw that their garden wasn’t as pretty as the others. Once it was time to gather some veges and make some soup, everyone wanted a part of the ugly vegetables. Recipe in the back, Hooray!
Strega Nona’s Harvest – By Tomie dePaola Strega Nona is well known for her magical way with the garden. She always has plenty of food for her family come harvest time and this year was no different. …except for some reason she keeps getting vegetables at her front door and has nowhere to put them. What is she to do? Why help people out, of course. Great story about sharing and caring.