Starting this blog is HARD because I want to talk about EVERYTHING…all at the same time. I’ve been toying with several ideas over the past few days and finally decided on sharing Paint Bucket Wisdom (insert echo, echo, echo). This was actually a heck of a lot harder than I thought it would be…not the bucket part but the blogging part. I’ve made about a gazillion and one of these things and each takes about 2 hours from start to finish. This time…like 14 days…or that’s how long it felt like. So, here we are 20 photos and 2 pages of hand written notes later, instructions on how to decorate paint buckets. Enjoy!
First Things First – Supplies
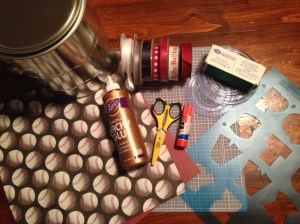
- Gallon paint bucket (purchased at the hardware store)
- Paper trimmer
- Cutting mat, Circle cutters and cutting cartridges (I used Creative Memories)
- 2 pieces of 12 x 12 patterned scrapbook paper
- 2 different colors solid scrapbook paper for letters (I use scraps because an entire sheet isn’t needed)
- Various ribbon
- Stencils
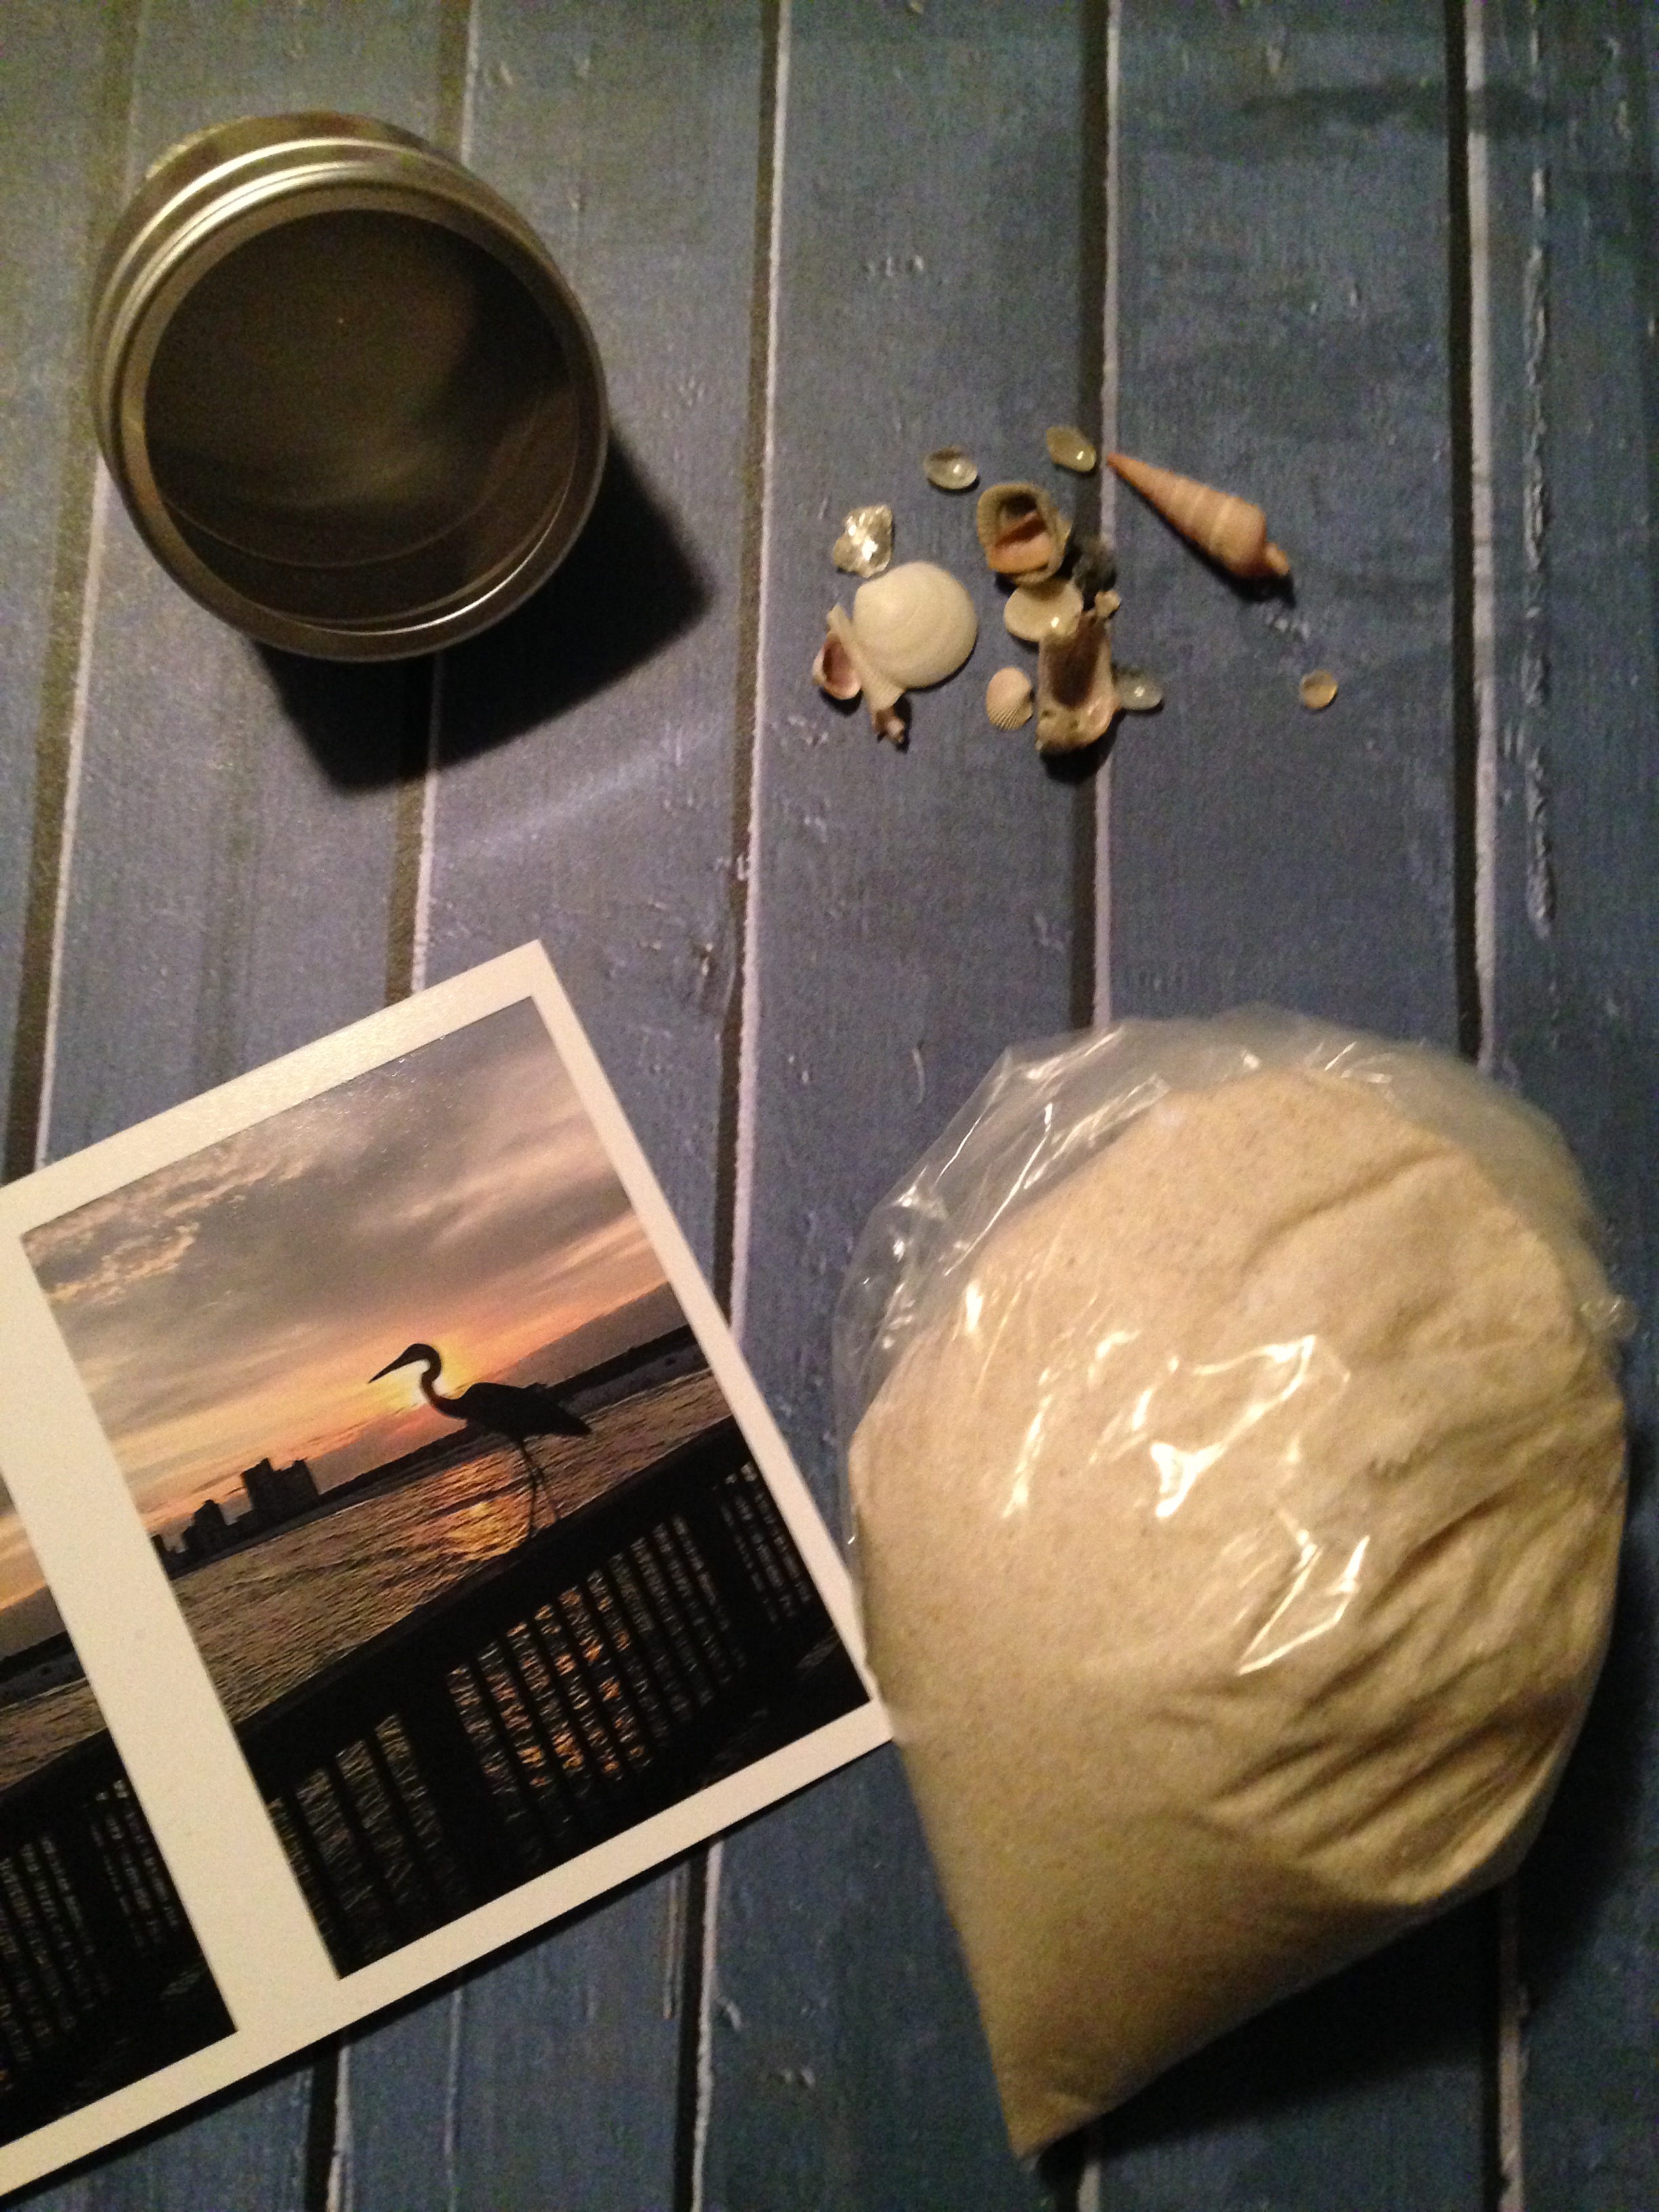
- Embellishments
- Scissors (I use Cutter Bee. My kids know better than to take these…because I will hunt them down…)
- Glue sticks
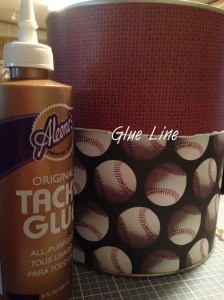
- Tacky glue
- Pencil
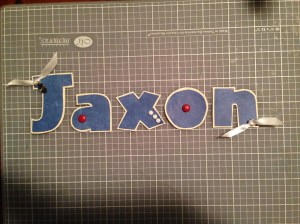
Letters
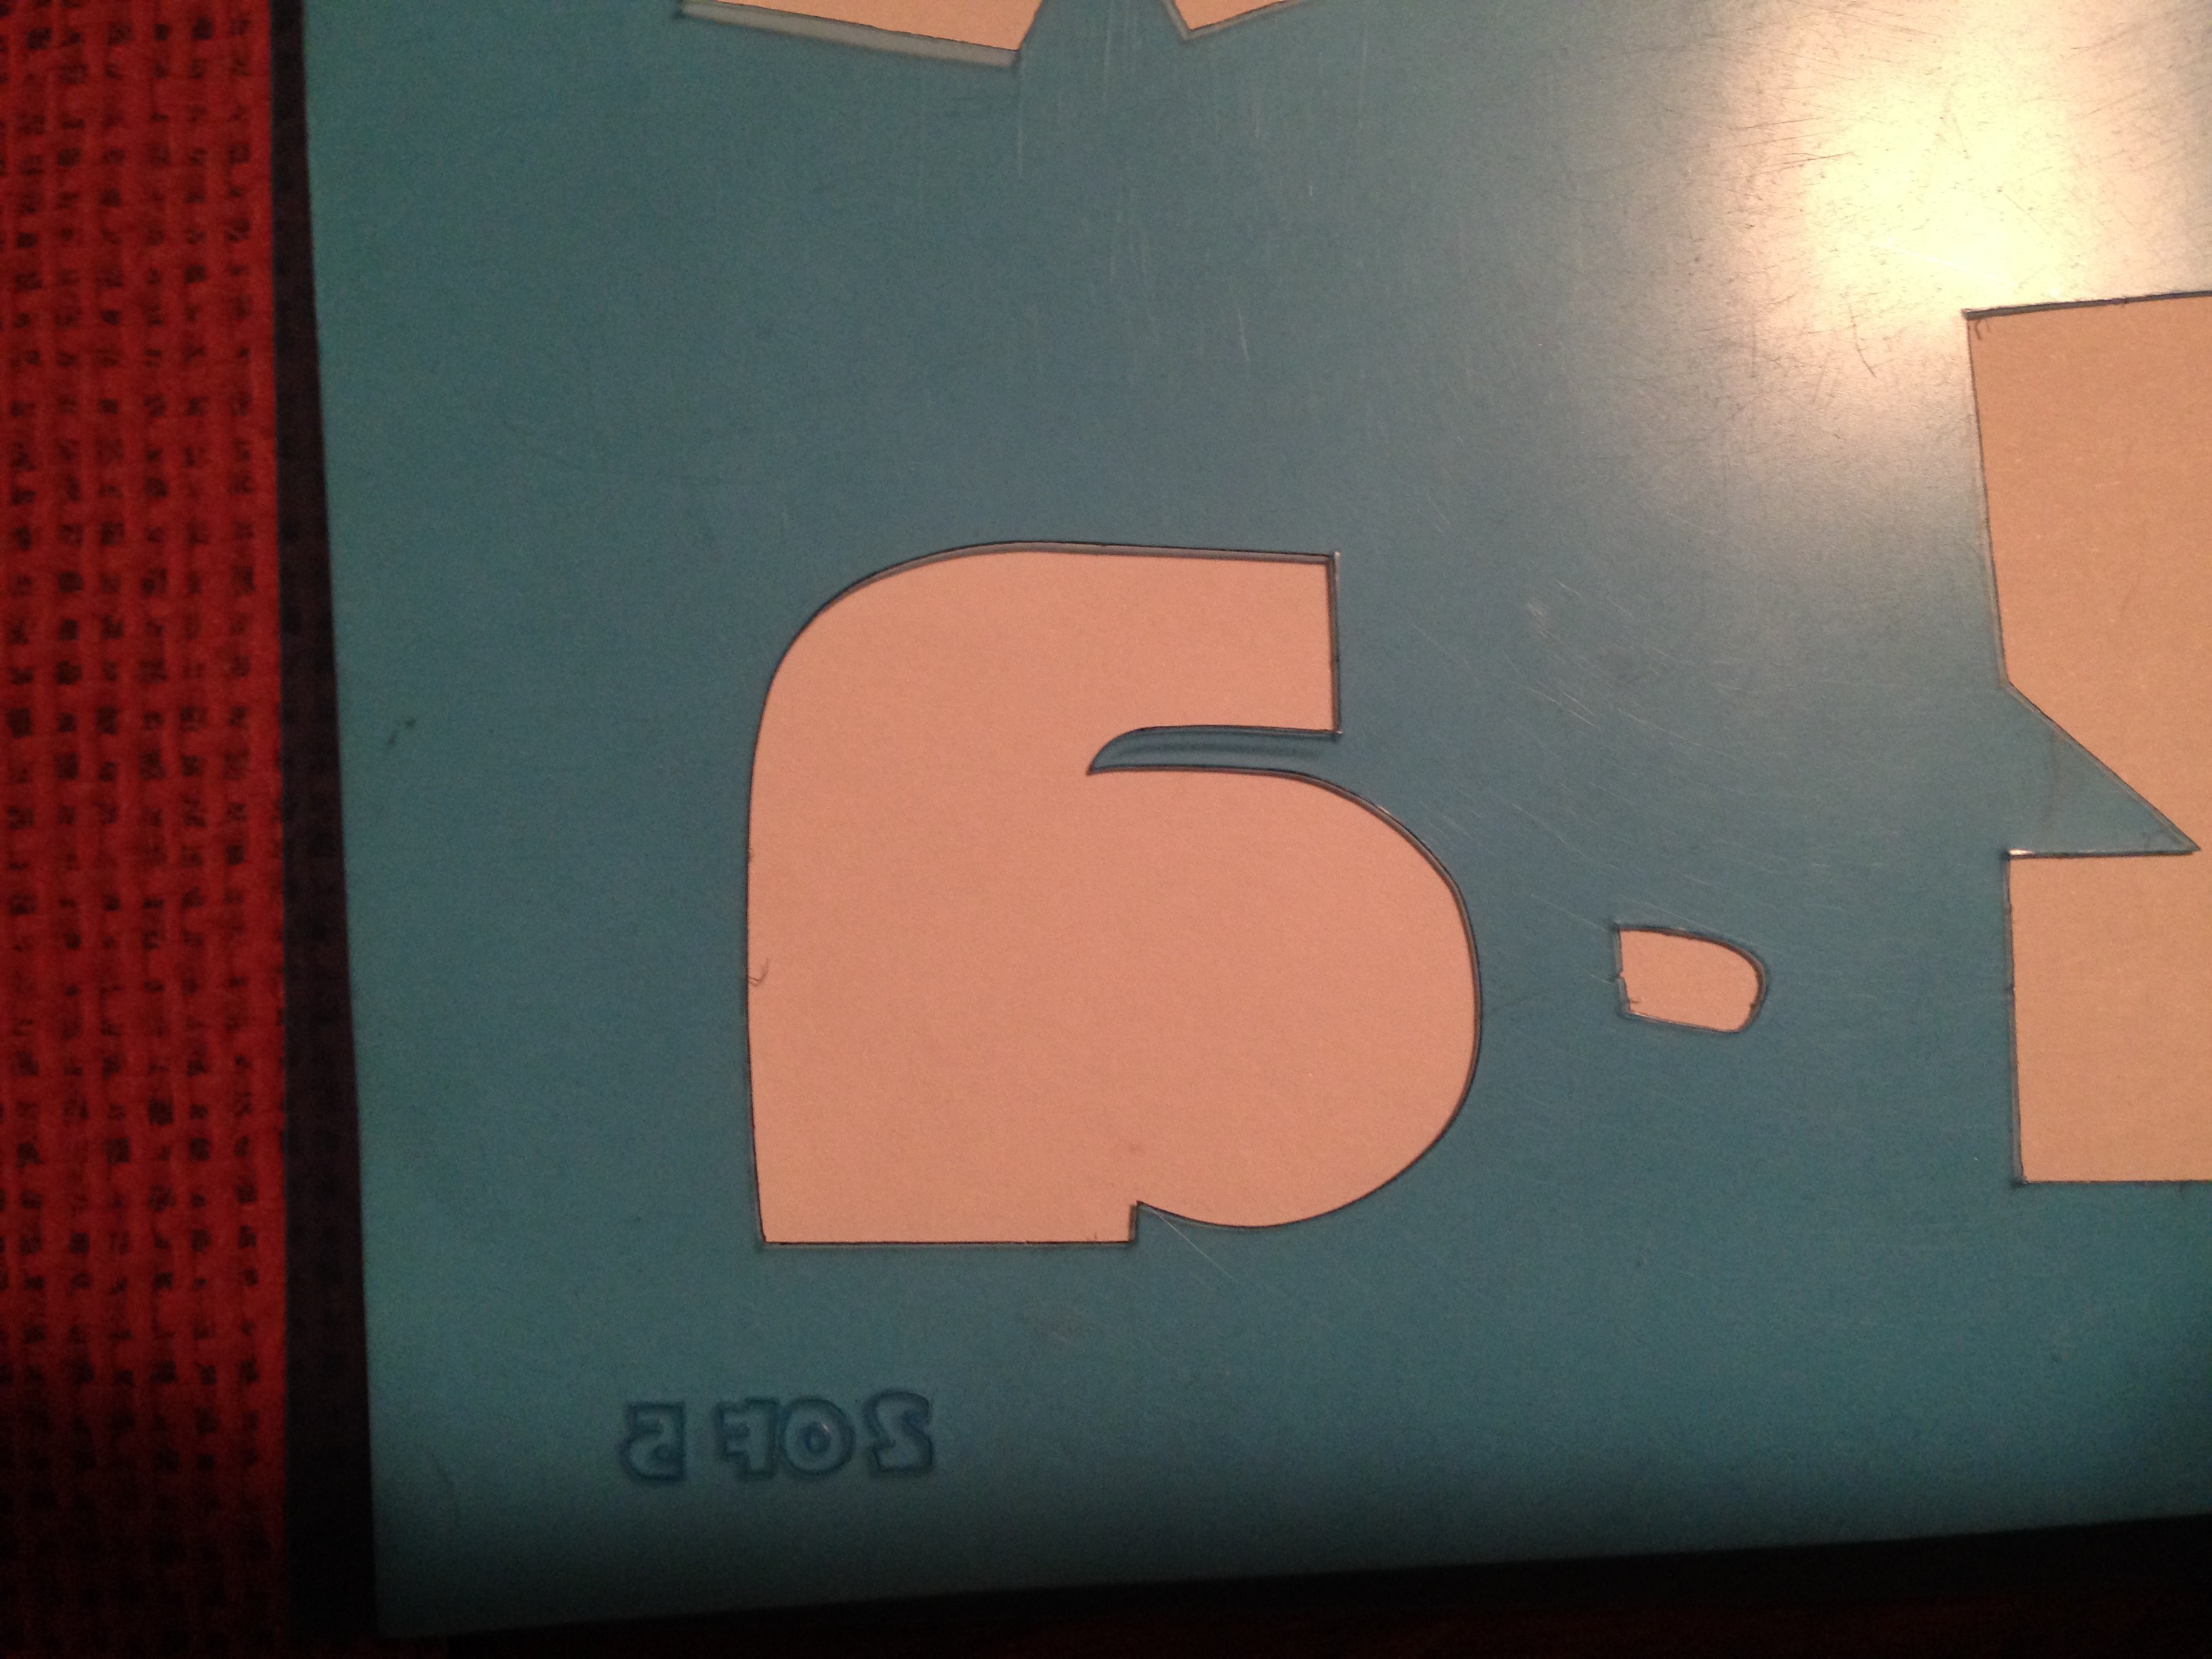
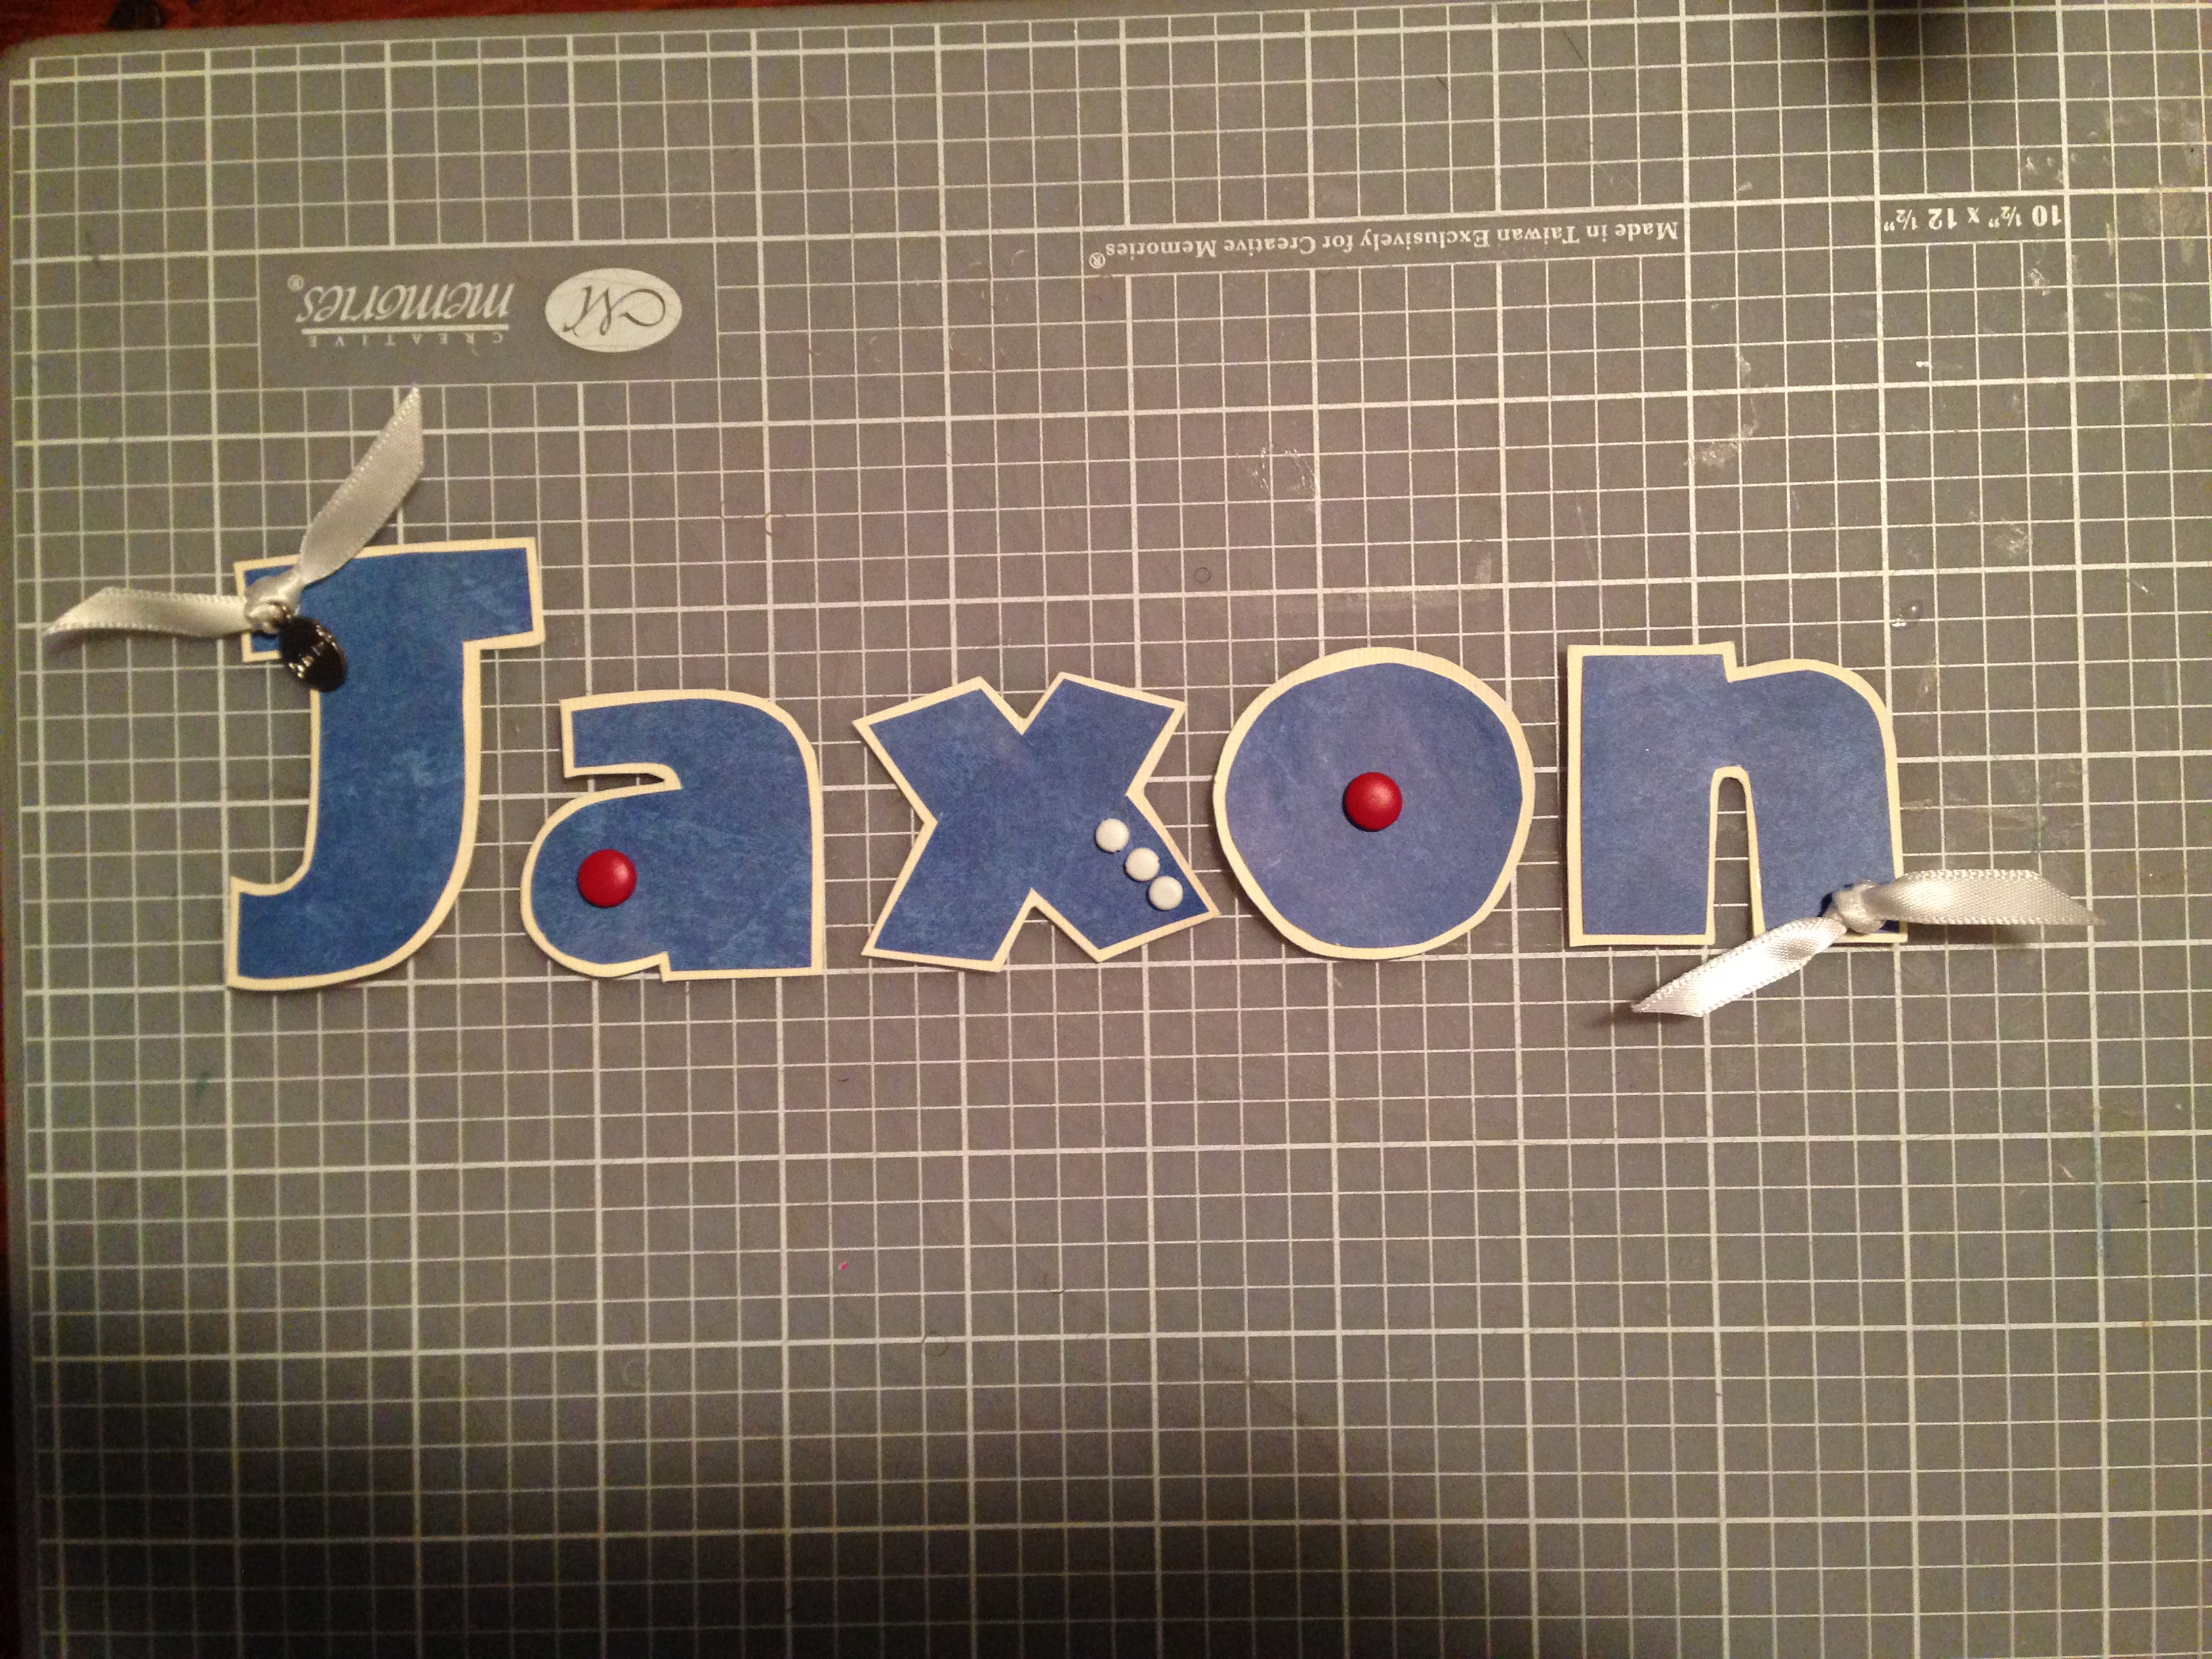
Once you have all of your supplies, the next thing you need to do is start on the letters. I like to do the letters first because you have to let the Tacky glue dry. I use stencils because it is easier to grab them rather than drag out the Cricut machine for a small project (call me lazy…go ahead). I turn the paper and the stencil over on the back side so when I trace the letter the pencil marks won’t ever show on the front. Providing no one has used your scissors out in the yard, cutting the letters should be a breeze. When you have them cut out, glue them to the second sheet of paper with the Tacky glue and let them dry for about 10 minutes. Then, cut again leaving a slight edge to reveal the second color or “mat”, if you want to get all fancy. Lastly, embellish with whatever you’d like. This time I used brads, charms and ribbon. Anything that you use while scrapbooking, you can use on these buckets. If you need to glue something to the letters, use the Tacky glue. Let the letters dry an additional 15 minutes. Moving on…

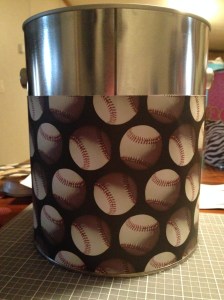
Wrapping
Take whichever piece of 12 x 12 you’d like to be on the bottom of the bucket and make the following cuts.
- Make a 1 1/2″ cut
- Divide the remaining paper in half, creating two 5 1/4 pieces

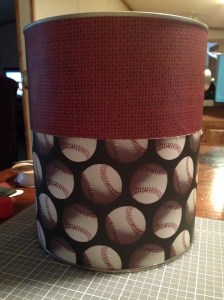
Starting with the back of the bucket, use the glue stick and glue one piece to the bottom half of the bucket. Make sure you get as close to the lip of the bucket as possible. You want to start with the back because the paper will overlap and you want it to overlap towards the back not towards the front. Add the remaining piece to the front of the bucket.
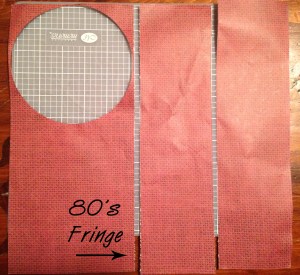
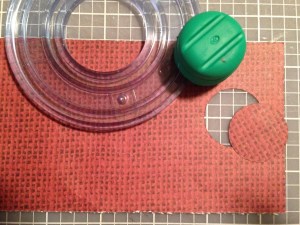
- Next, use the 5″ circle cutter from Creative Memories with the blue blade and cut as close to the edge of the second piece of patterned paper as possible creating a 5 1/4″ circle
- At this point my cats were helping…of course they were…
- Wrinkles are okay. I dare you to find the wrinkles once the paper is glued on…I dare you!

- Cut as close to the circle as you can and create a new straight edge.
- Divide the remaining paper into two equal pieces creating two 3″ pieces or there about (here “there about” means “pretty close to 3”
- Since my paper trimmer is literally almost 20 years old, it gets wonky sometimes. Today it has left a sort of fringe on the edge. FEAR NOT! We will cover this up with stuff and things and no one will see it!
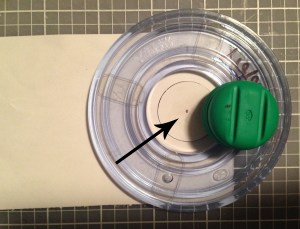
The two 3″ pieces (or there about) will go on the top half of the bucket. We have to work around the handle here so we need to make some additional holes.
- Measuring 1 1/2″ from the top and 5/8″ from the side make a mark
- Use the smallest circle cutter and the green cutting blade and cut a circle for the handle
Again, starting with the back, glue the two pieces on the top. This time, make sure you get as close to the top edge as possible.
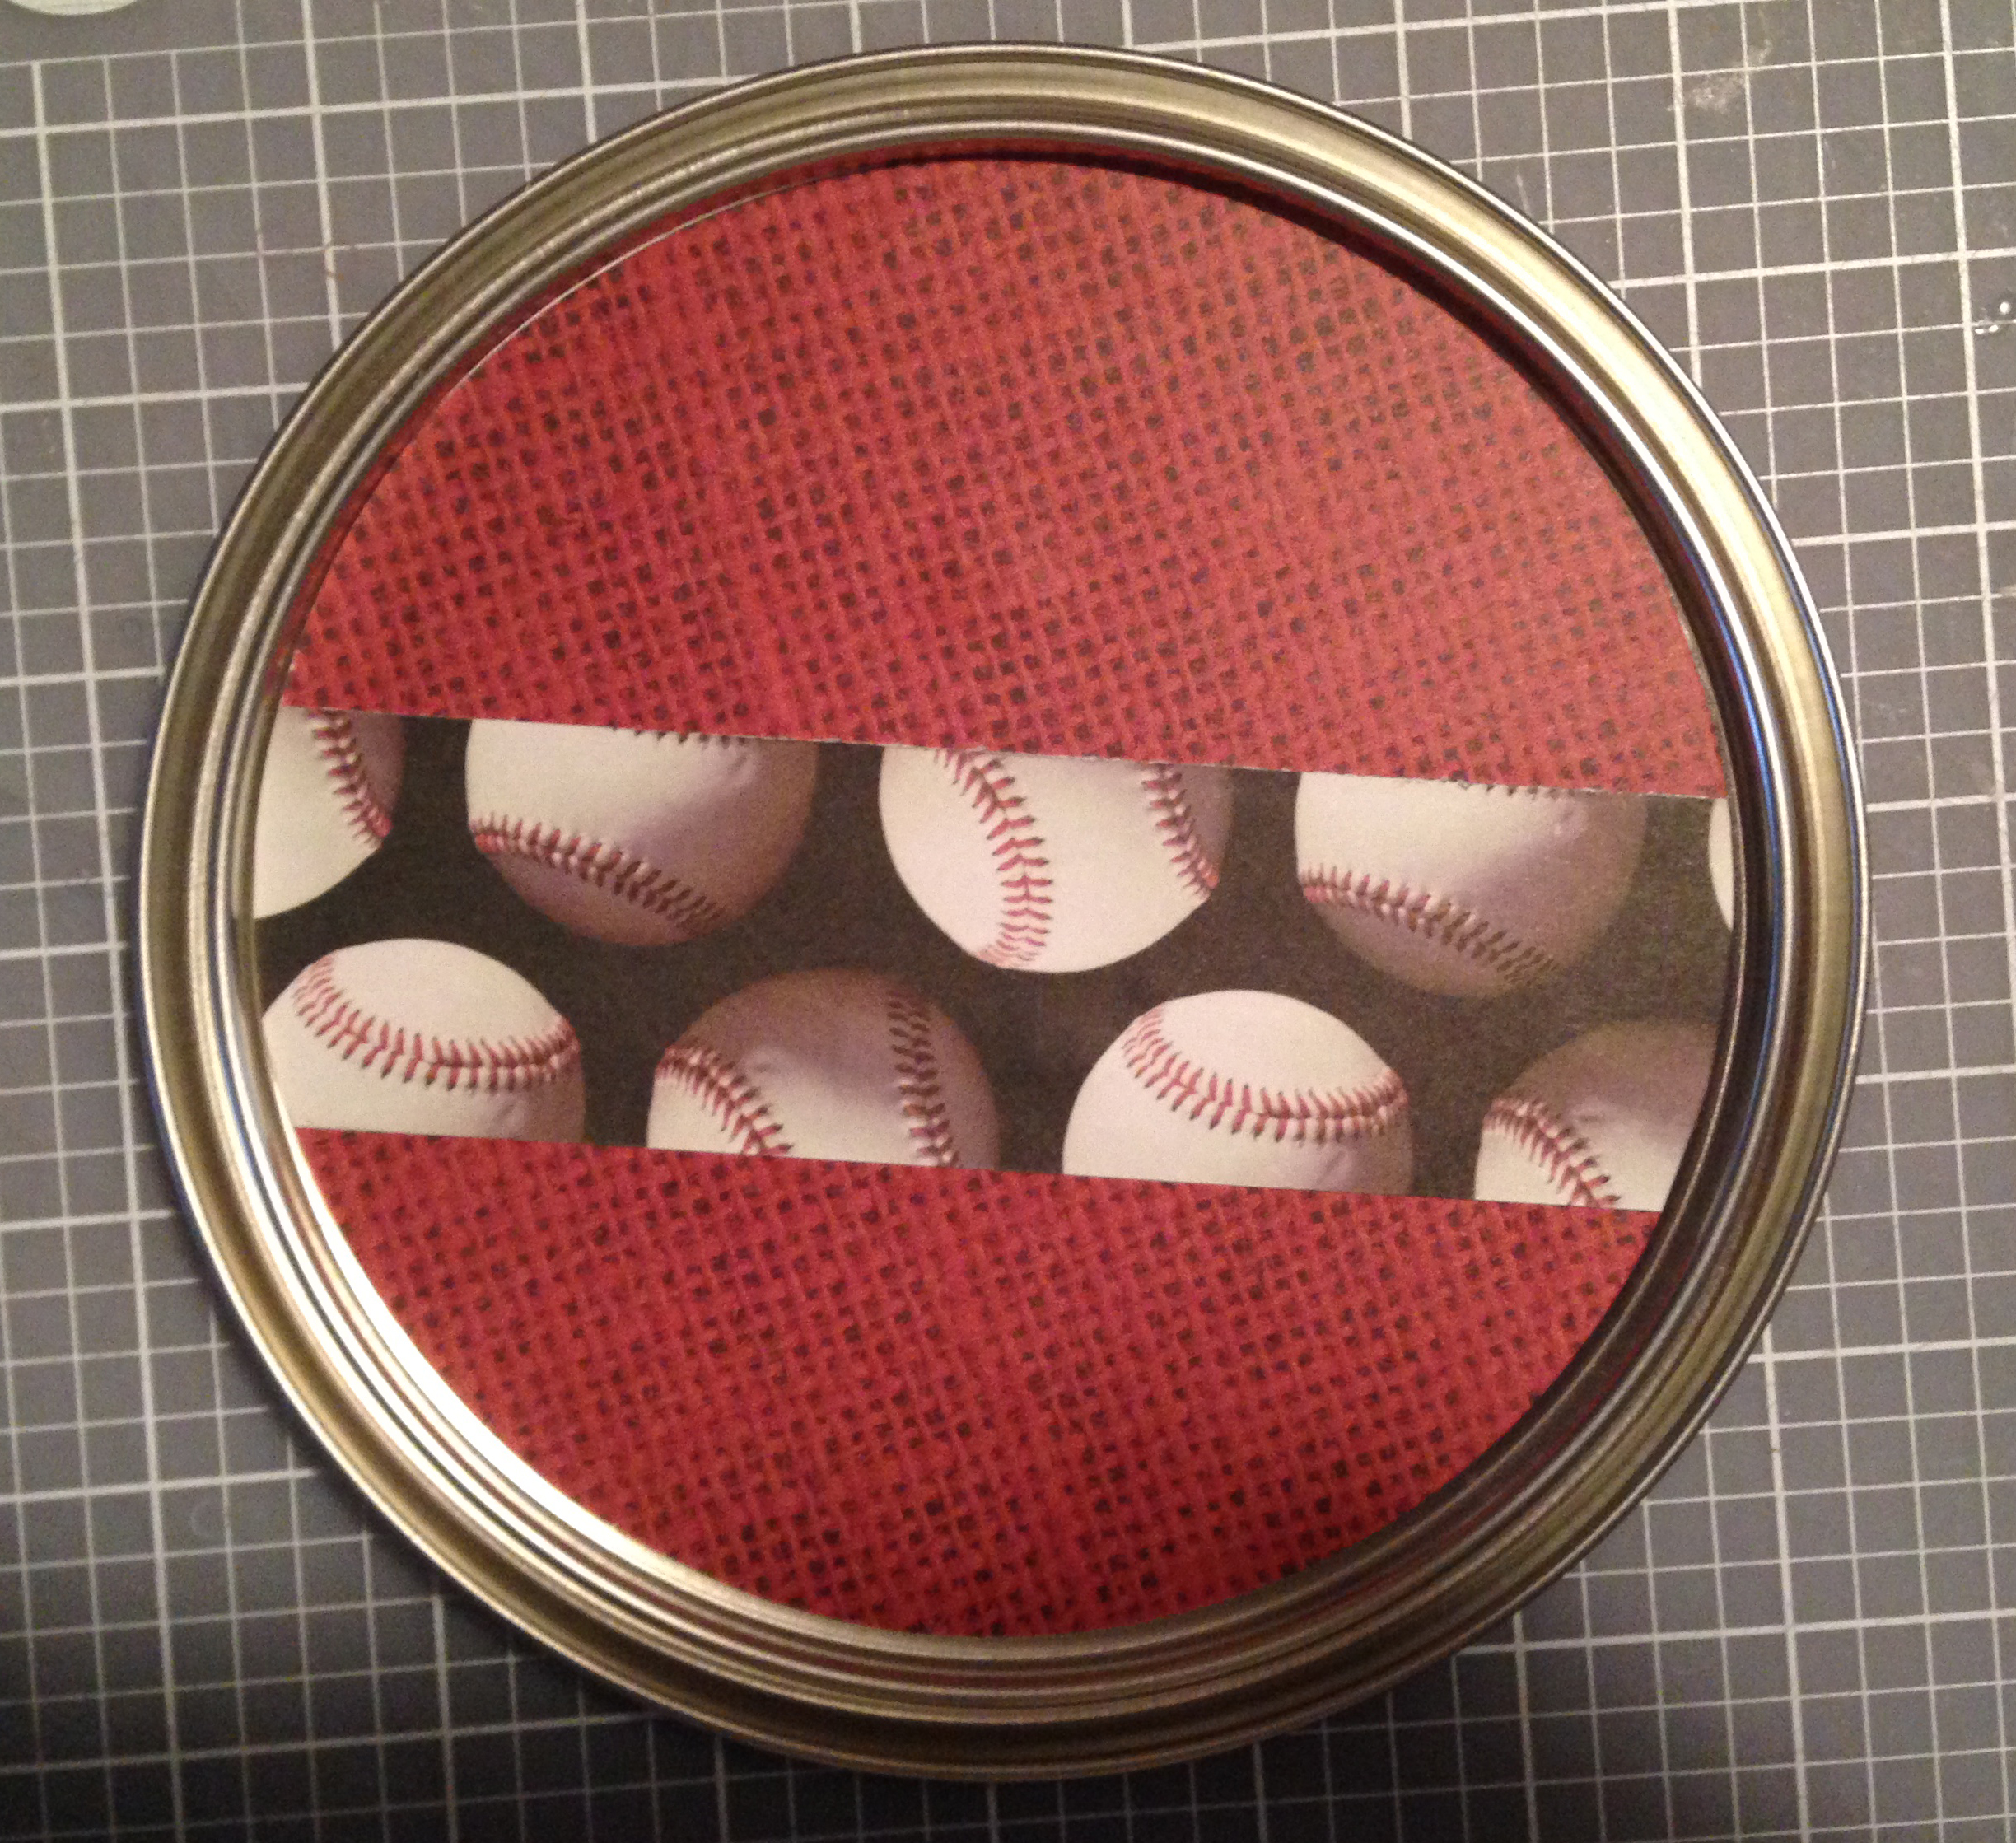
- Take the circle you’ve cut and glue the 1 1/2″ strip to it.
- Then trim the strip to match the circle.
- Glue the circle to the lid.
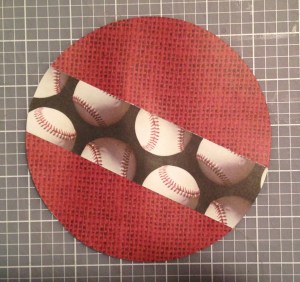

See! No crinkles! Bhhhhhahahahahaha (gasp) hahahahaha!!!!
Decorations
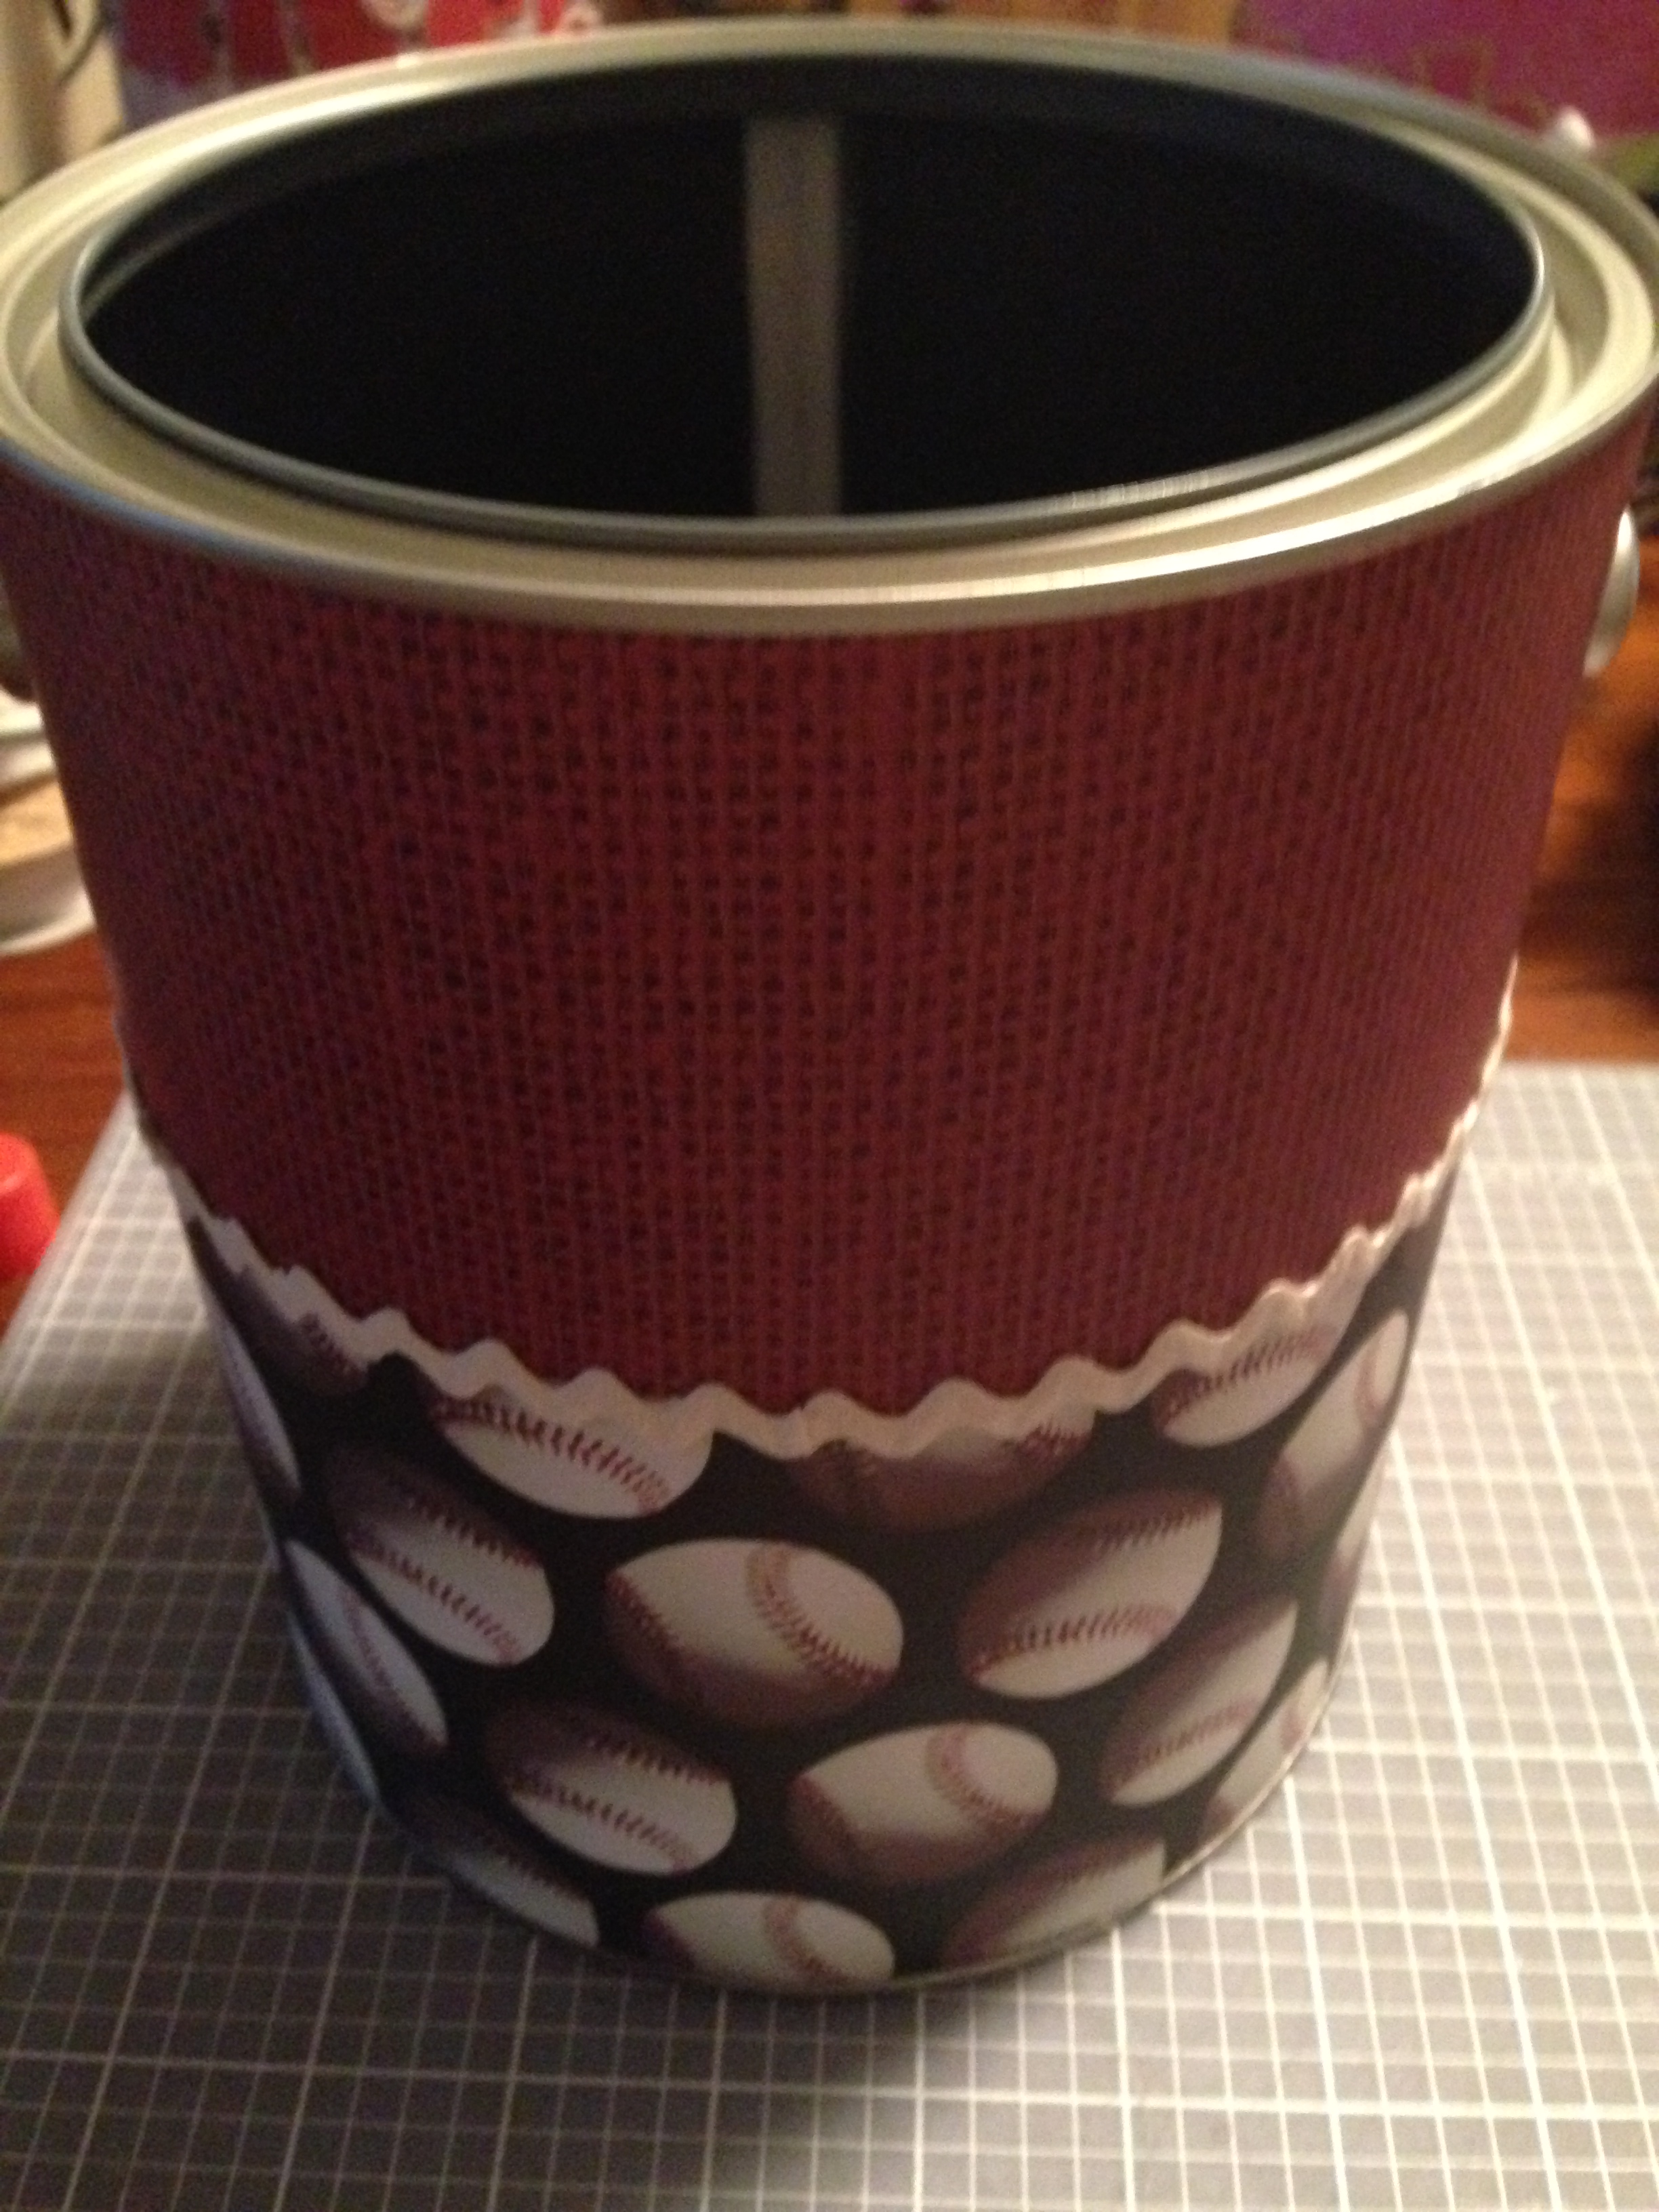
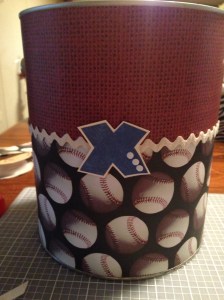
Next, you want to cover up that 80’s fringe seam. I use ric rac a lot. A. Lot. You could really use whatever you’d like to cover the seam but you should use Tacky glue or something similar so it doesn’t fall off. Put a bead of glue all the way around the seam and then glue whatever you’d like onto the seam.

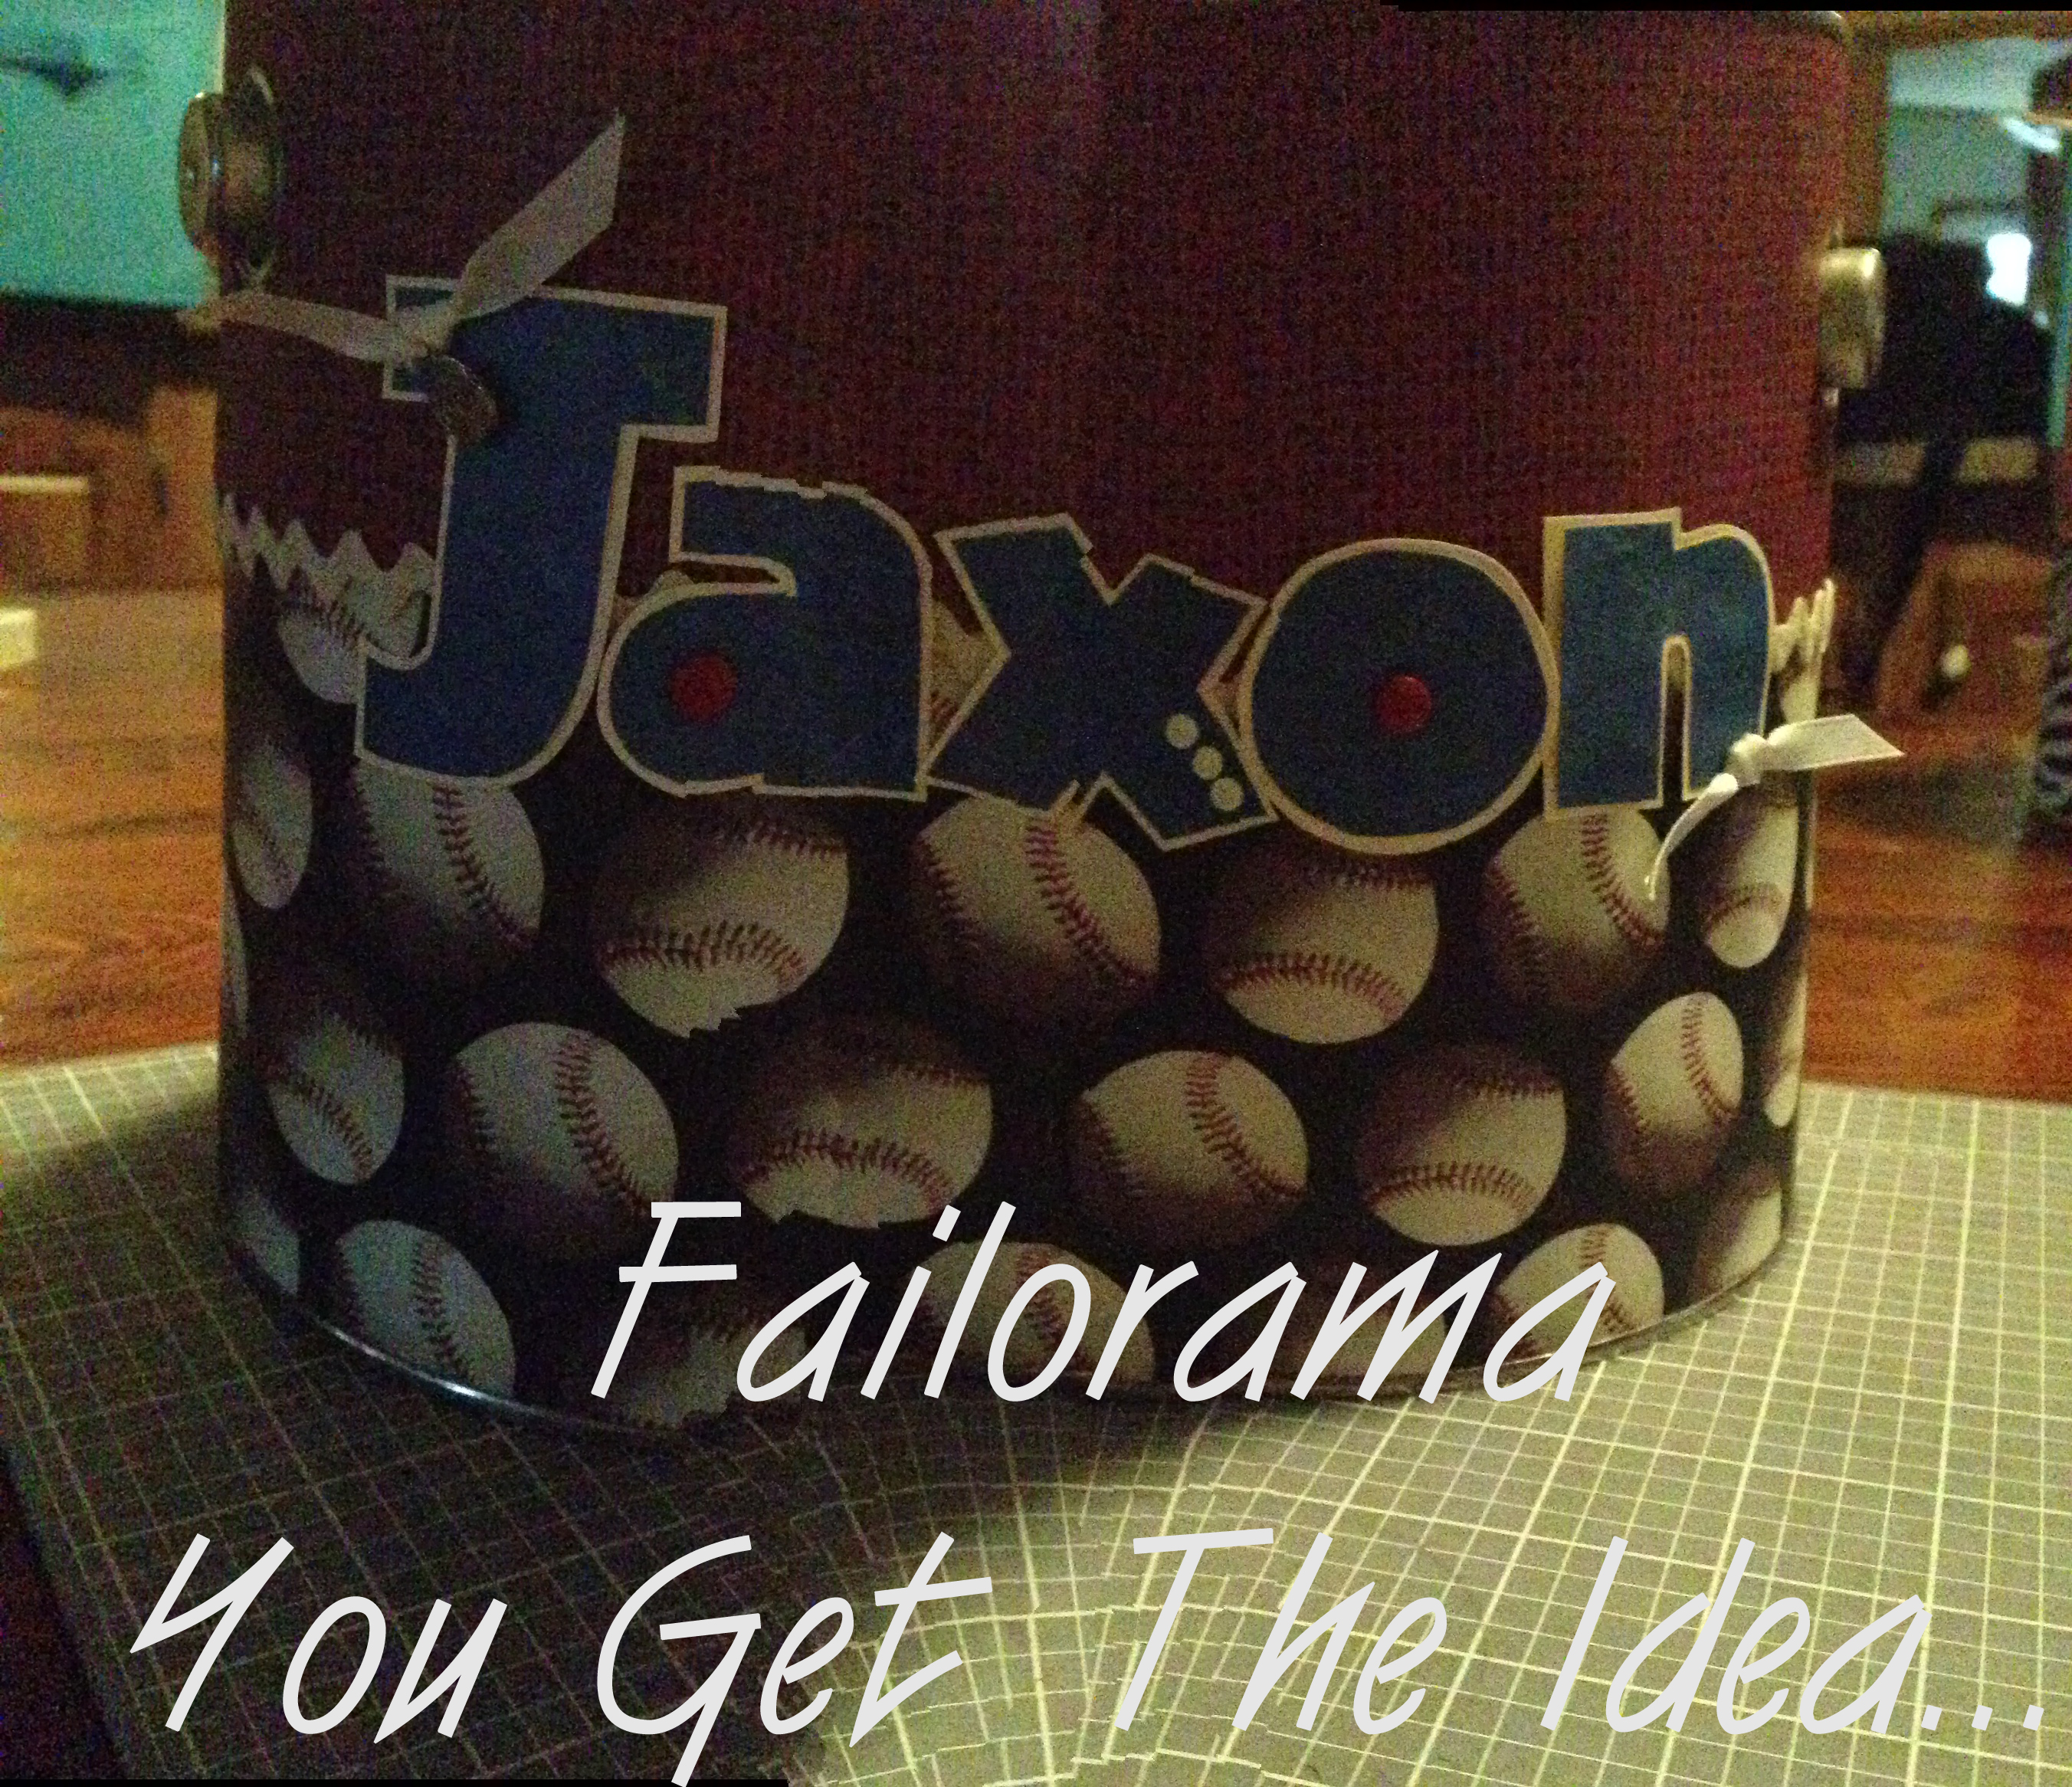
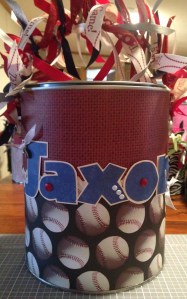
Next, glue the letters on starting with the middle first. Center the letters between where the handle goes in and along the seam. Use your Tacky glue here too. You may have to press the letters down a few times to make them stay while the glue dries.
Here I’ve tried to do a panorama shot and failed miserably. Oh well, you get the idea of what it should look like, right?

Ribbon
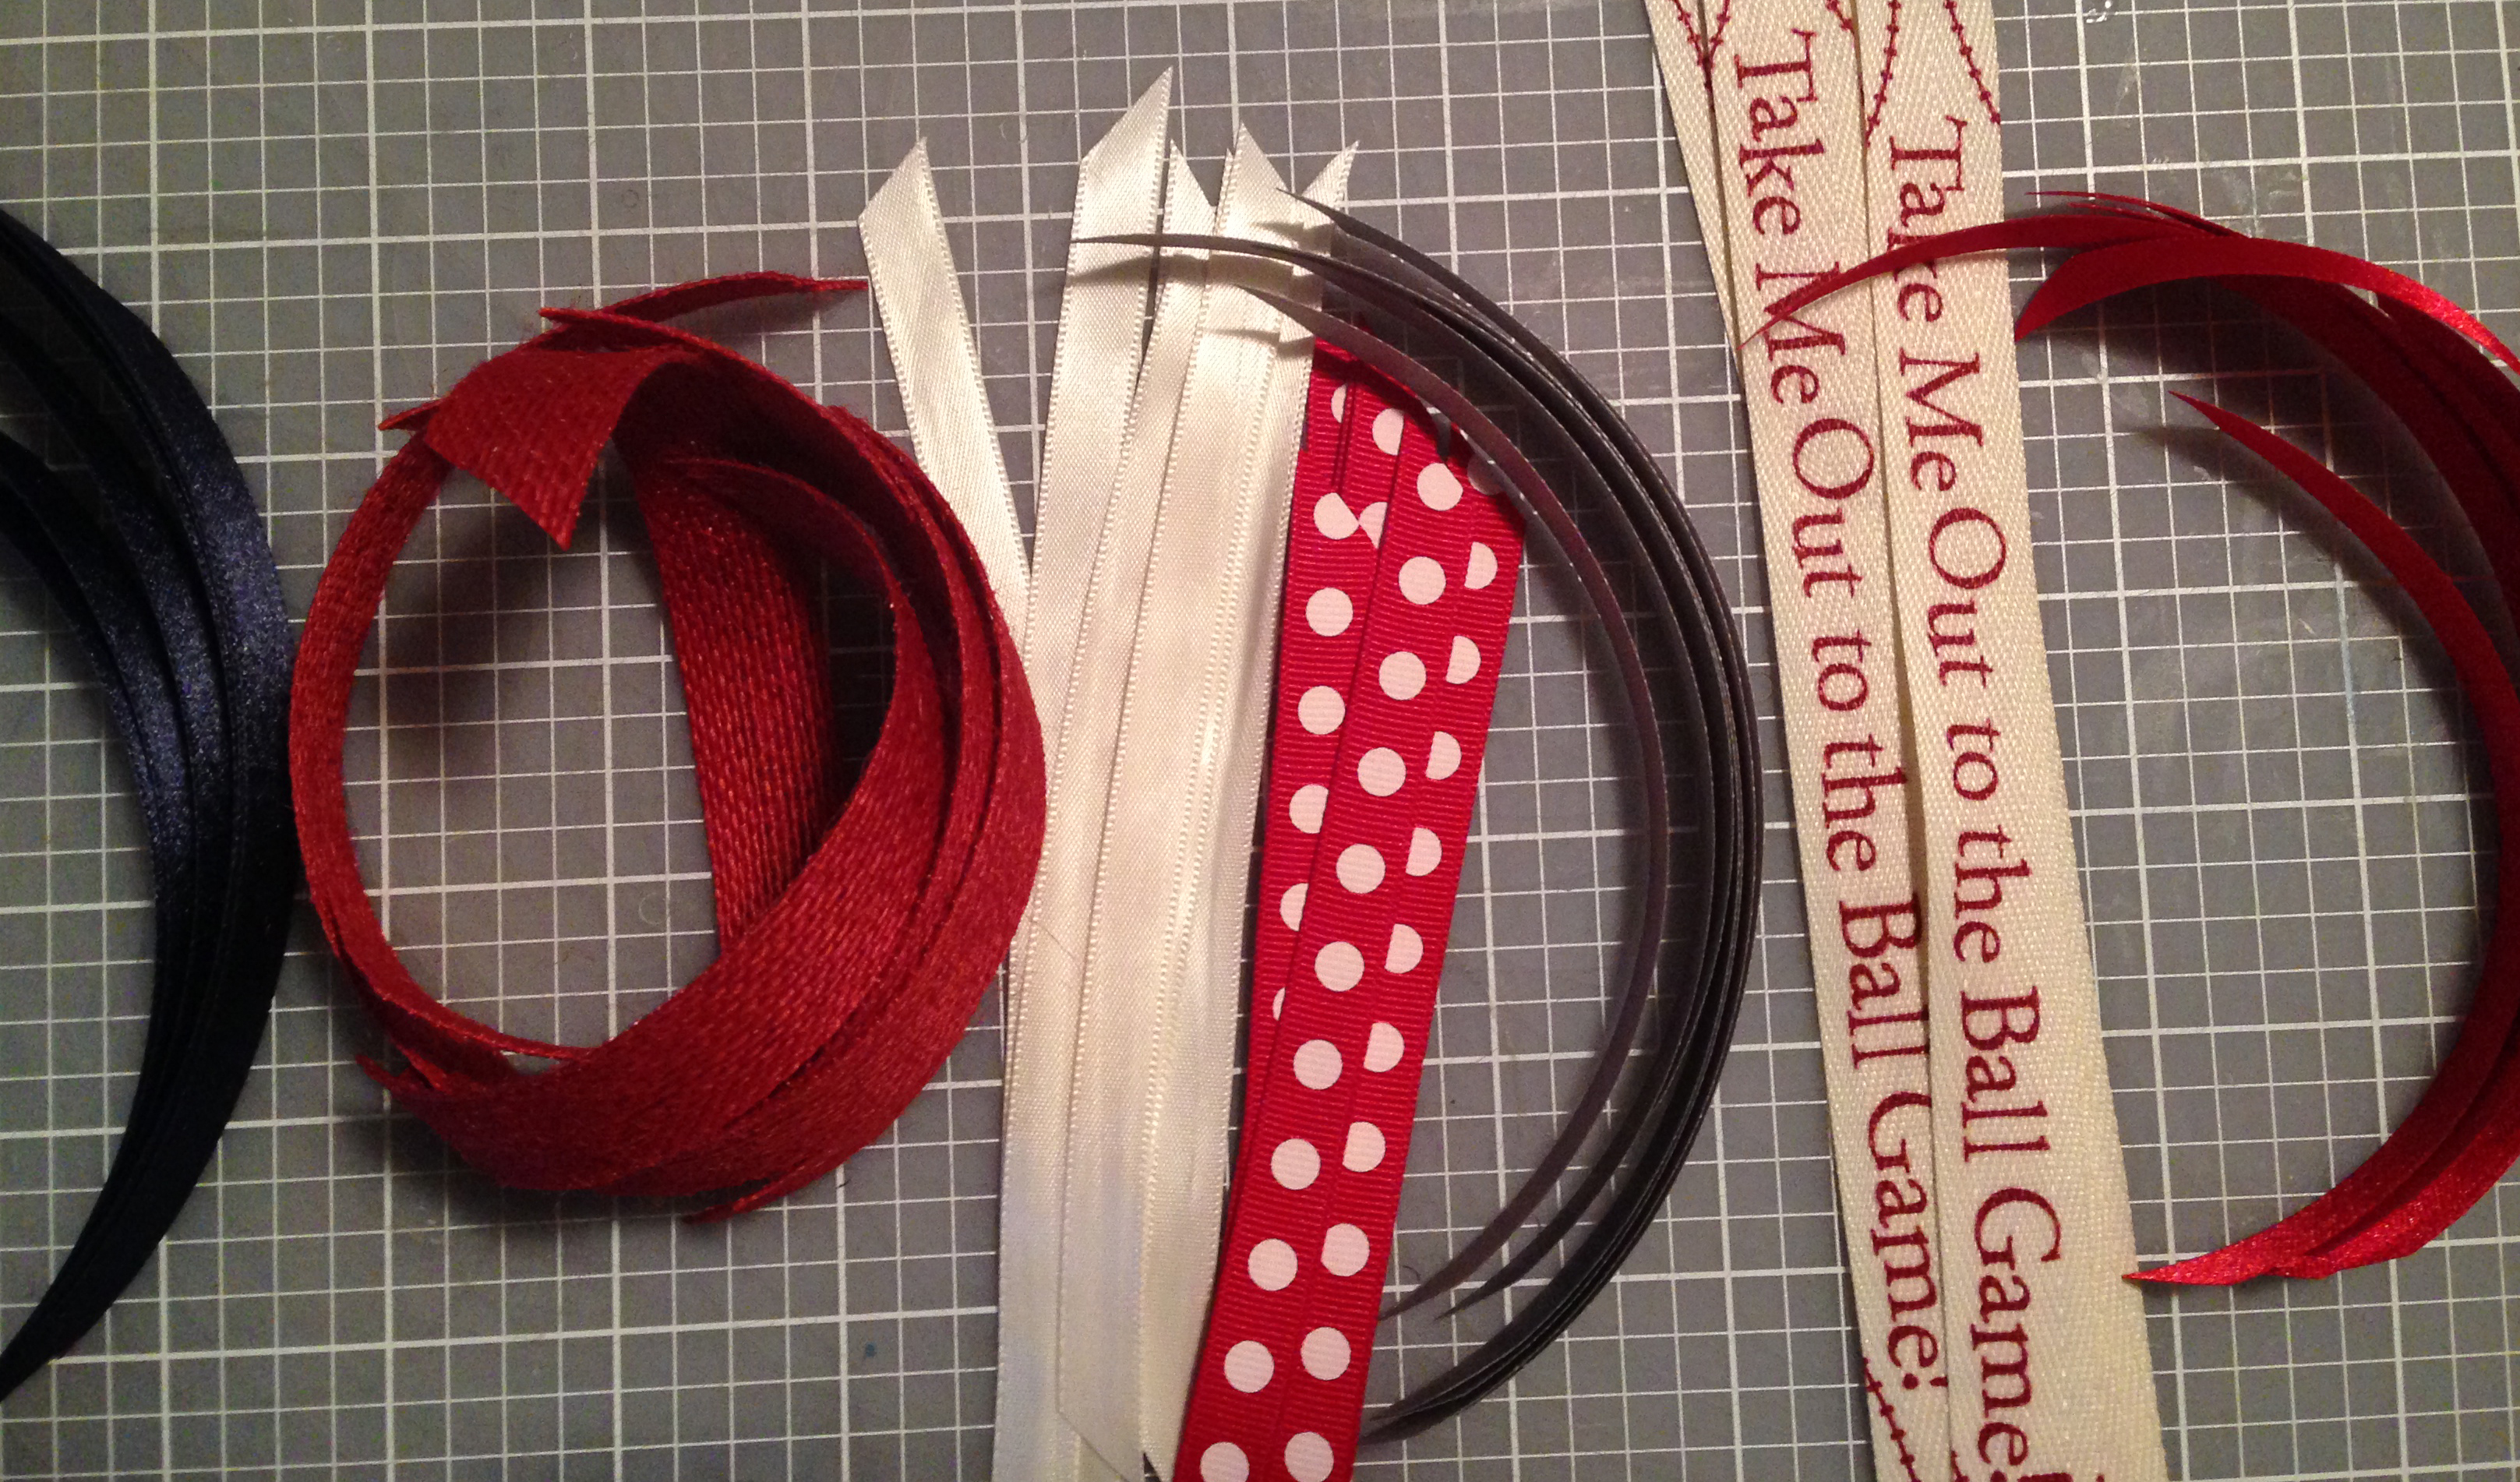
Using several different kinds of ribbon, cover the handle.
- Cut the ribbon in 6″ pieces.
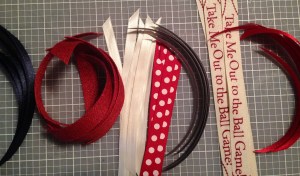
- Knot the ribbon on the handle
- Alternate different styles of ribbon
- This is seriously not a hard concept
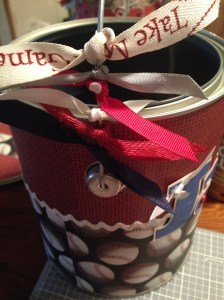
You are officially done!!! Ta Da!! (throws glitter)
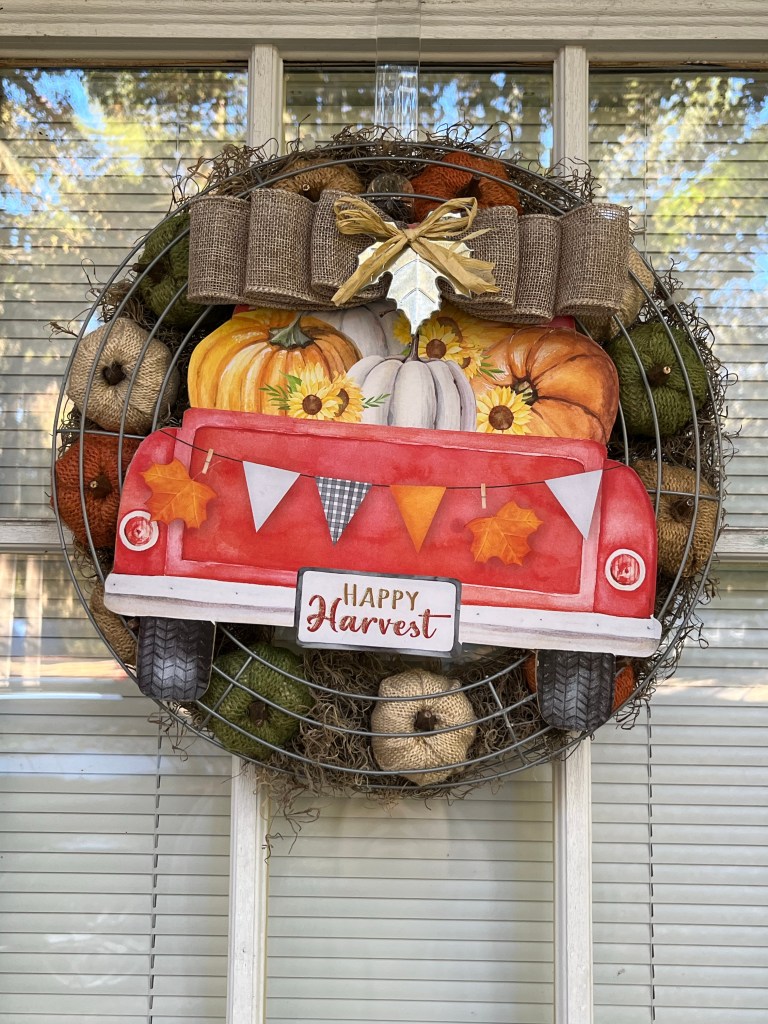
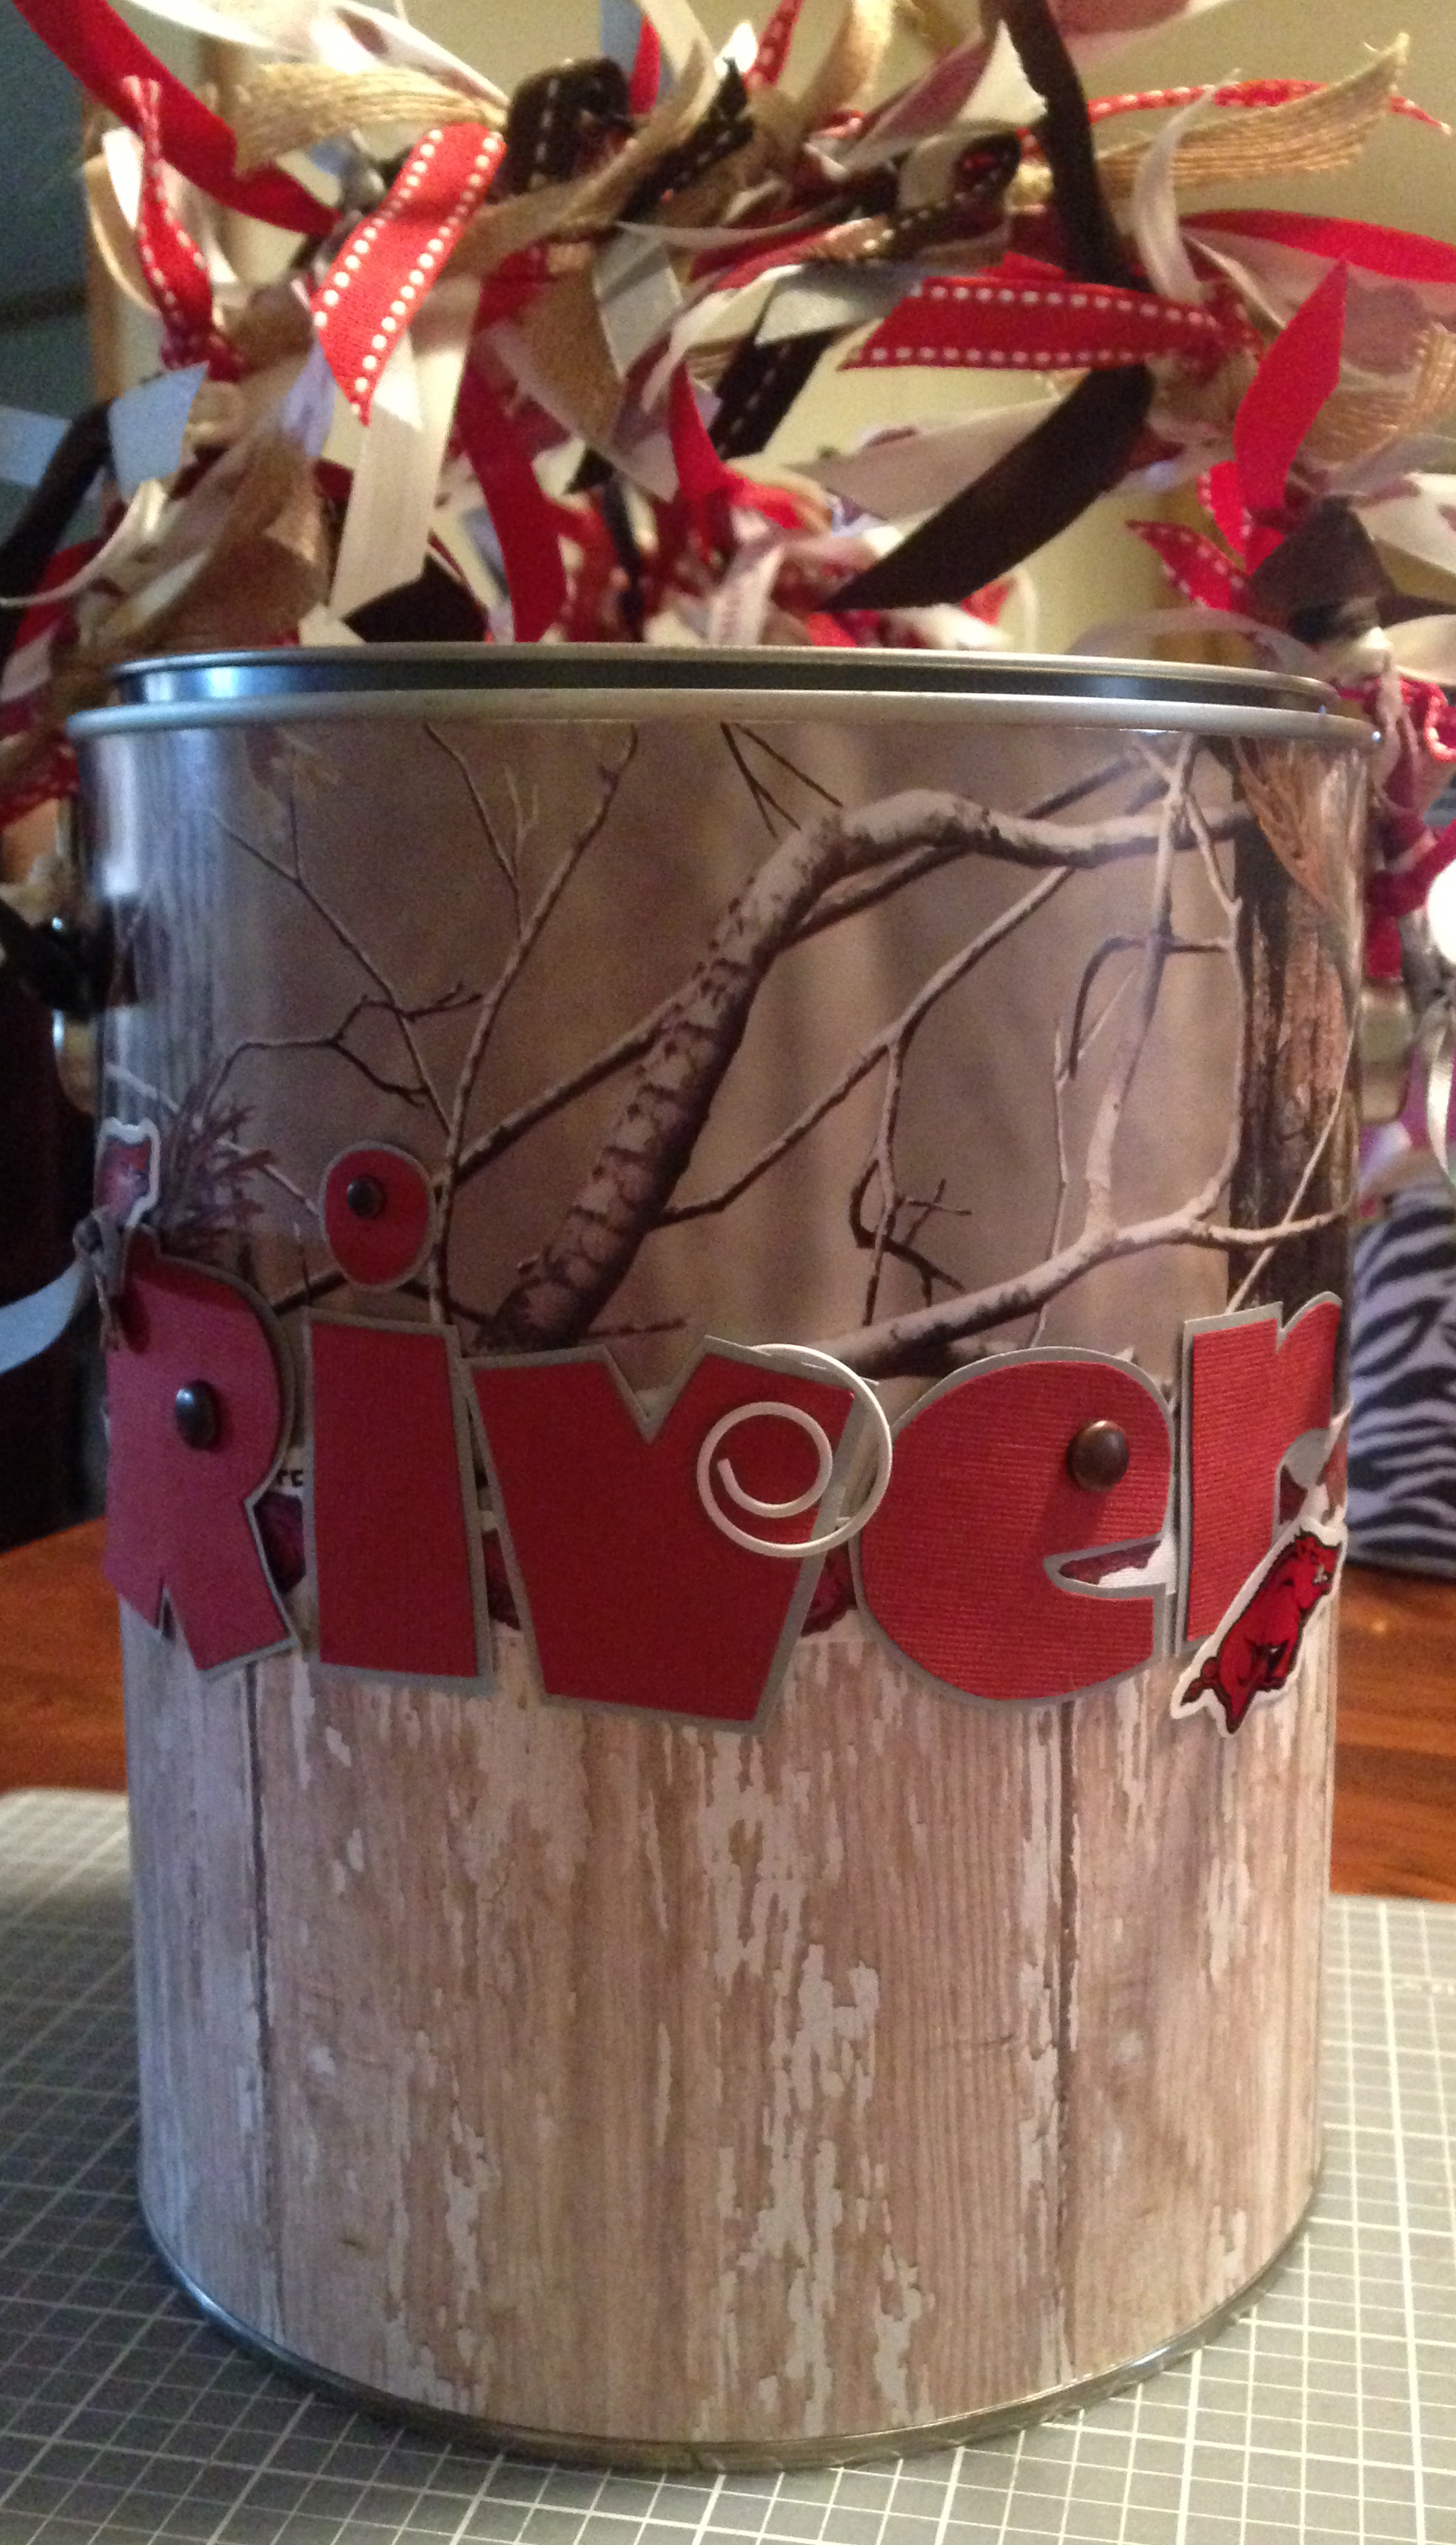
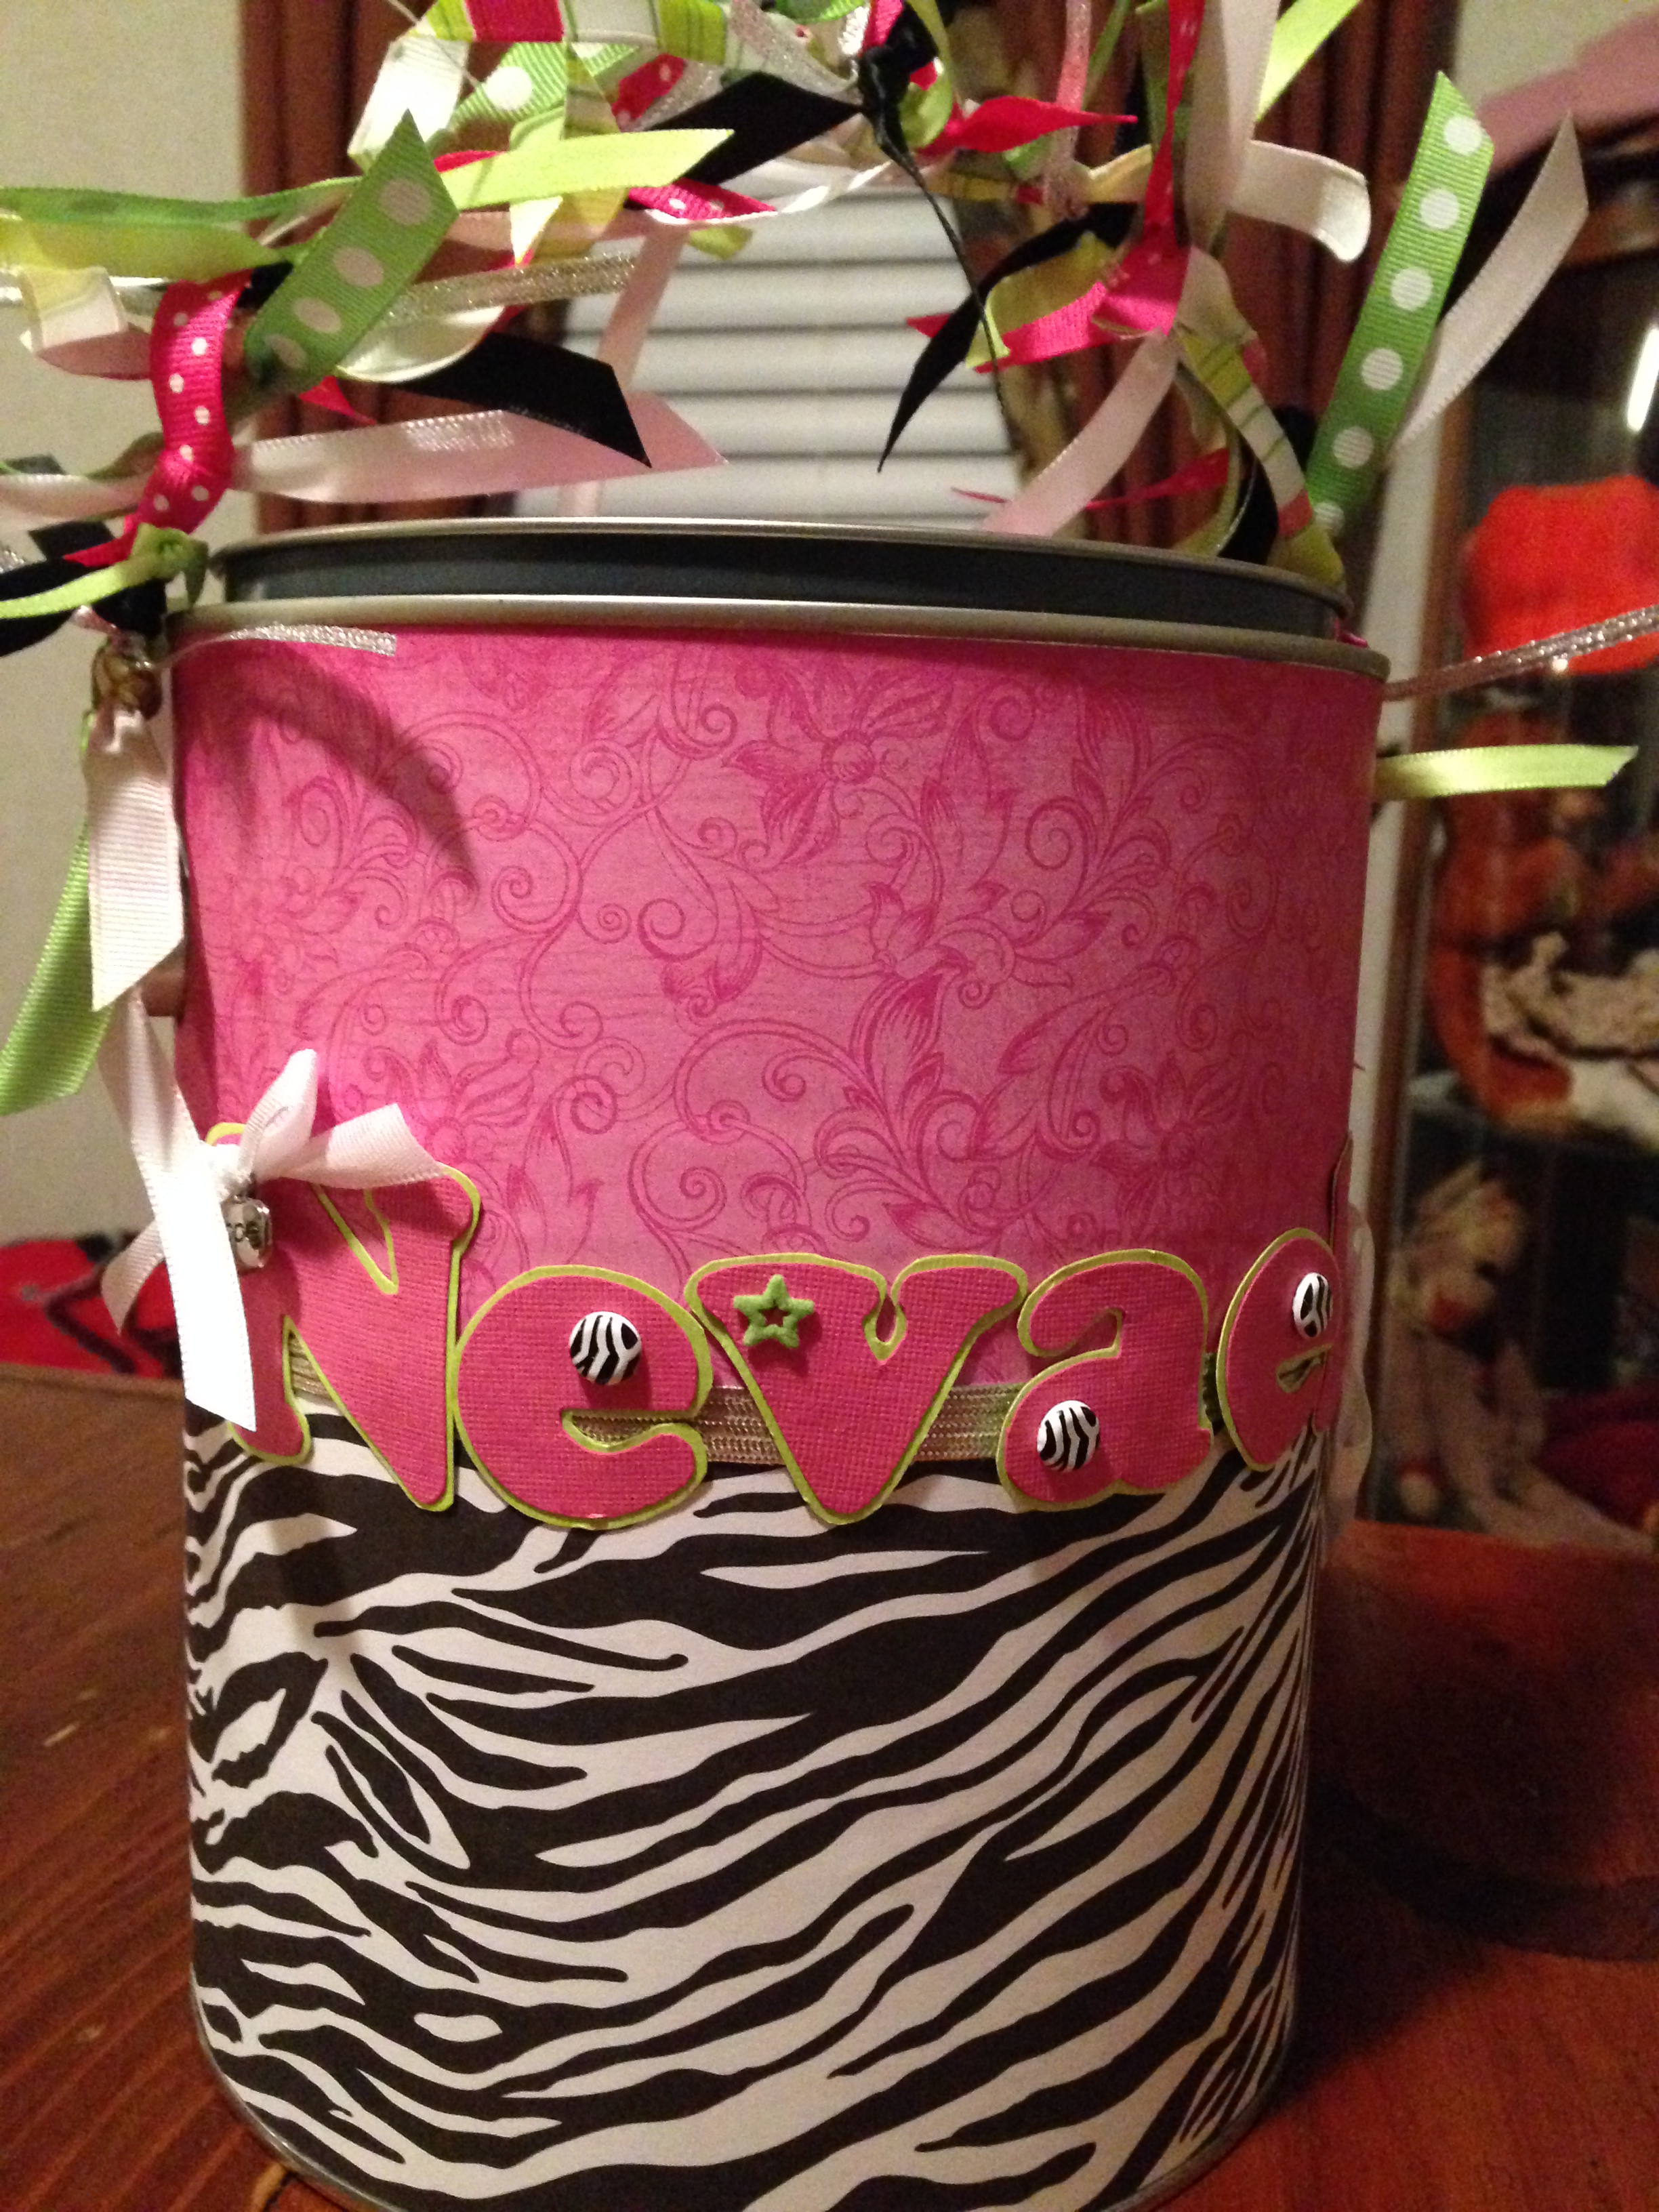
Couple more examples: