Cooking Without Photos – Chicken Rice Casserole
🎵🎶Ooooooooooooklahoma, where the wind comes sweepin’ down the plain🎶🎵 Yep. This week we travel to Ottawa County Oklahoma. Home of Miami, but NOT Florida! Pronounced “Miam-ah”. And also home to Picher. Never heard of it? Lemme tell you a little story, friends.
Picher, Oklahoma once belonged to the Seneca-Cayuga Indian tribes. Lead and Zinc were discovered in 1913 and much of their land was bought or stolen by mining companies.
Once mining started, it expanded quickly and covered a huge area. It’s been said that the Tri State Mining district was so overly mined, a person could drive a car from Picher, Oklahoma to Joplin, MO all while being underground in the mines. That’s roughly 25 miles.
Back then, mining companies were not under many regulations. They mined and took what they wanted and put the rest in a big pile on top of the ground. ”Chat” was what was left and they made huge piles of it all over Picher. HUGE! Folks didn’t really know what to do with it. They tried to make uses out of it, but there was just too much of it. Kids played on it. It was in everyone’s back yard. Folks would come and visit just to climb a pile of it (me included). In the end, it sat around for almost 100 years, slowly poisoning everyone. Yes.
In 1994 the Centers For Disease Control began testing the people of Picher and it was discovered they all had lead in their bloodstream. 35% of all of the children what were tested had more than 10 micrograms per deciliter, which is considered to be a health concern. Among other health problems, it causes developmental delays.
Huge long story short, after many tries and fails, the government declared Picher, Oklahoma uninhabitable. The residents had to move. The whole town was closed down. And in the end, it will eventually all cave in because of the extensive undermining and become a massive sink hole.
Fun fact: there have already been multiple sink holes that have opened up and swallowed buildings in places as far away as Galena, KS. (Part of Tri State Mining District). If you’d like to have more information about this topic, Tar Creek Documentary is available on Amazon Prime for a small fee. Very interesting indeed.
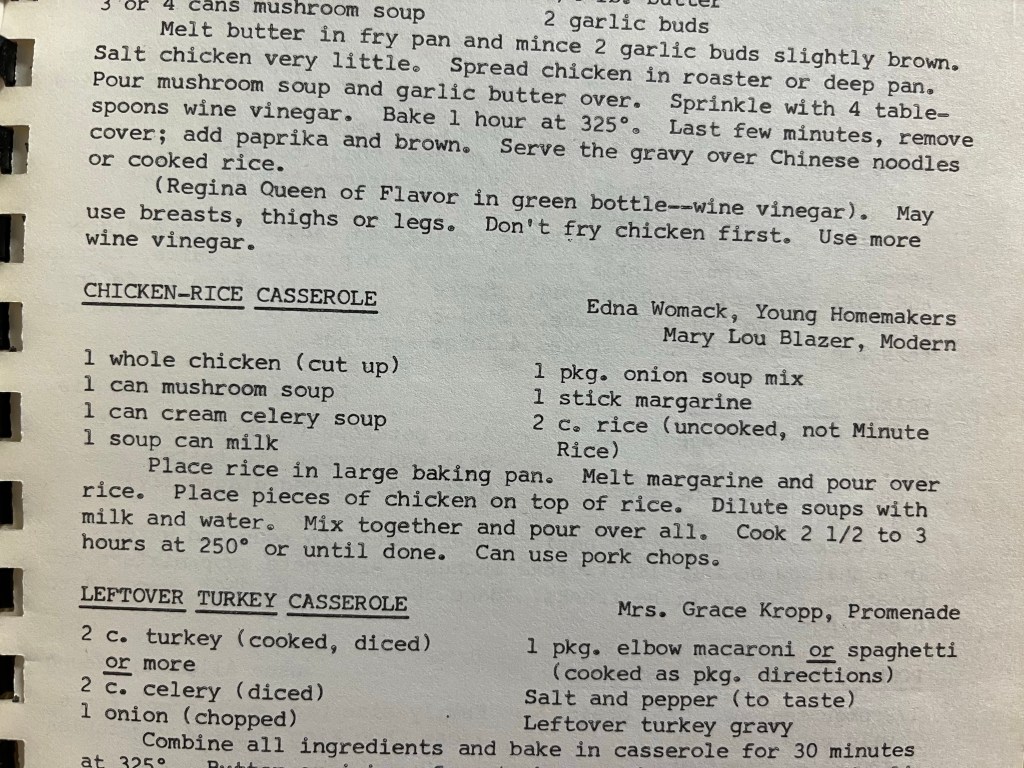
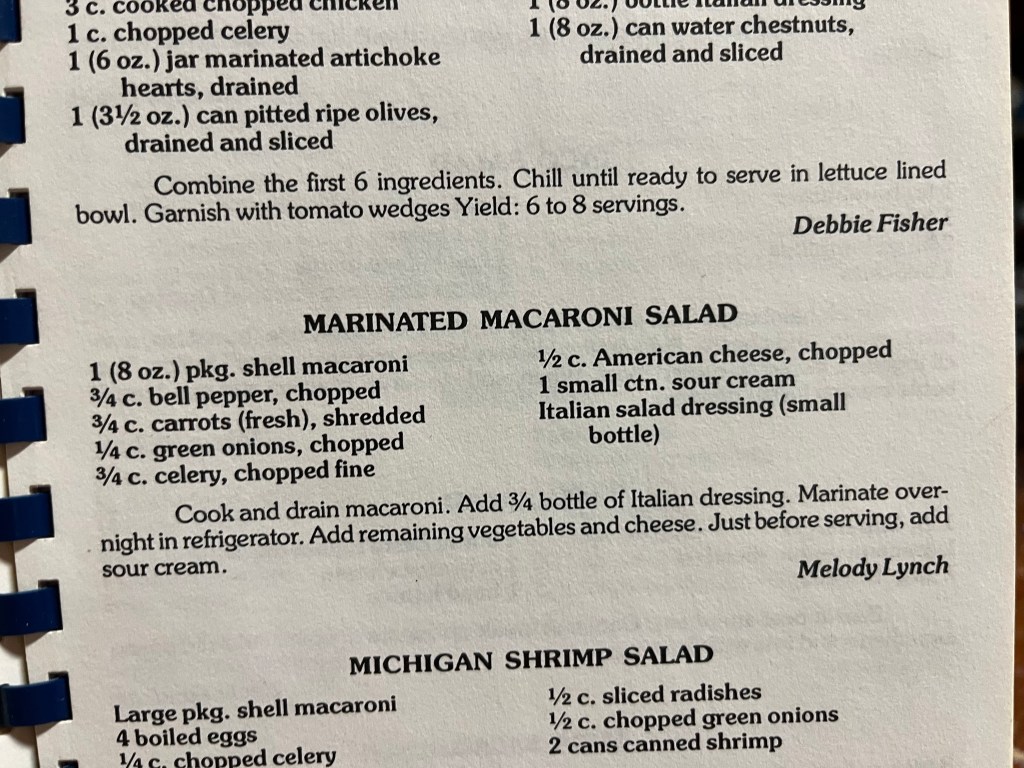
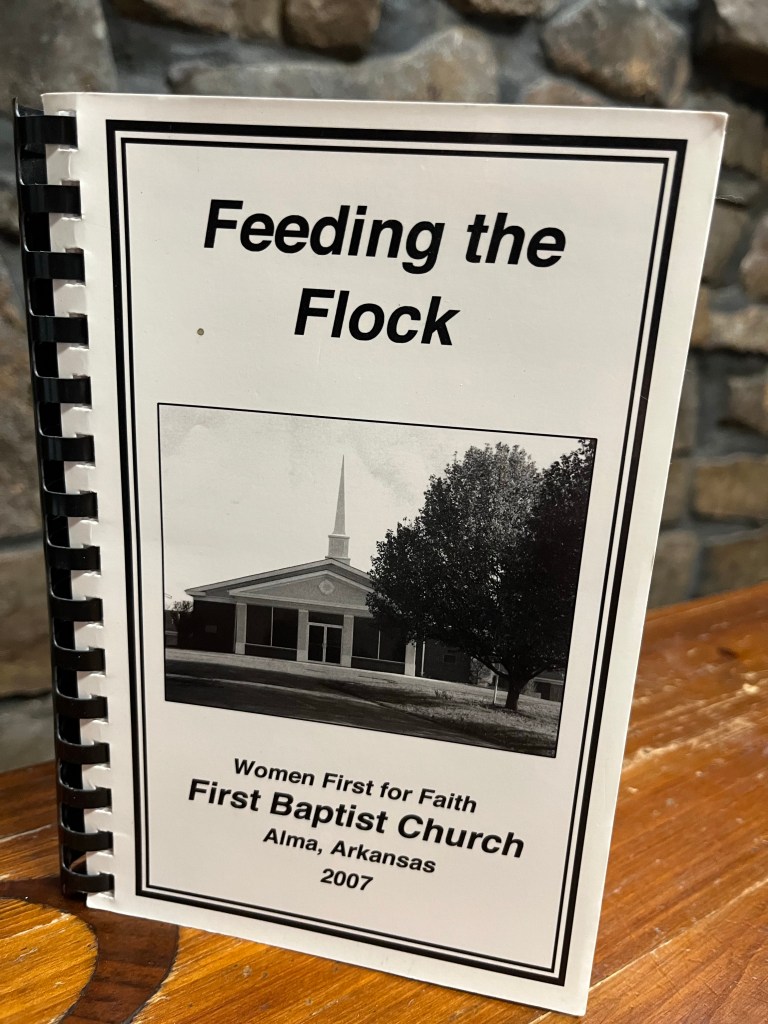
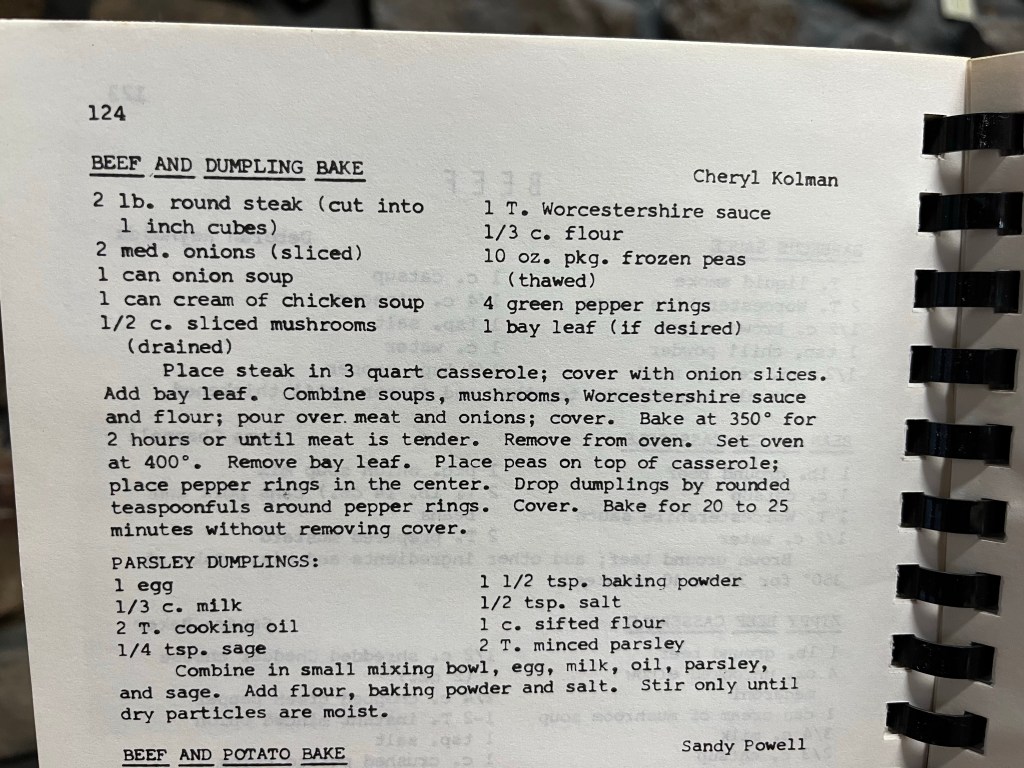
Now back to cooking. I chose to use a recipe out of the cookbook, “Ottawa County Bi-Centennial Cook Book: Compiled by Extension Homemakers Of Ottawa County Oklahoma 1975”.

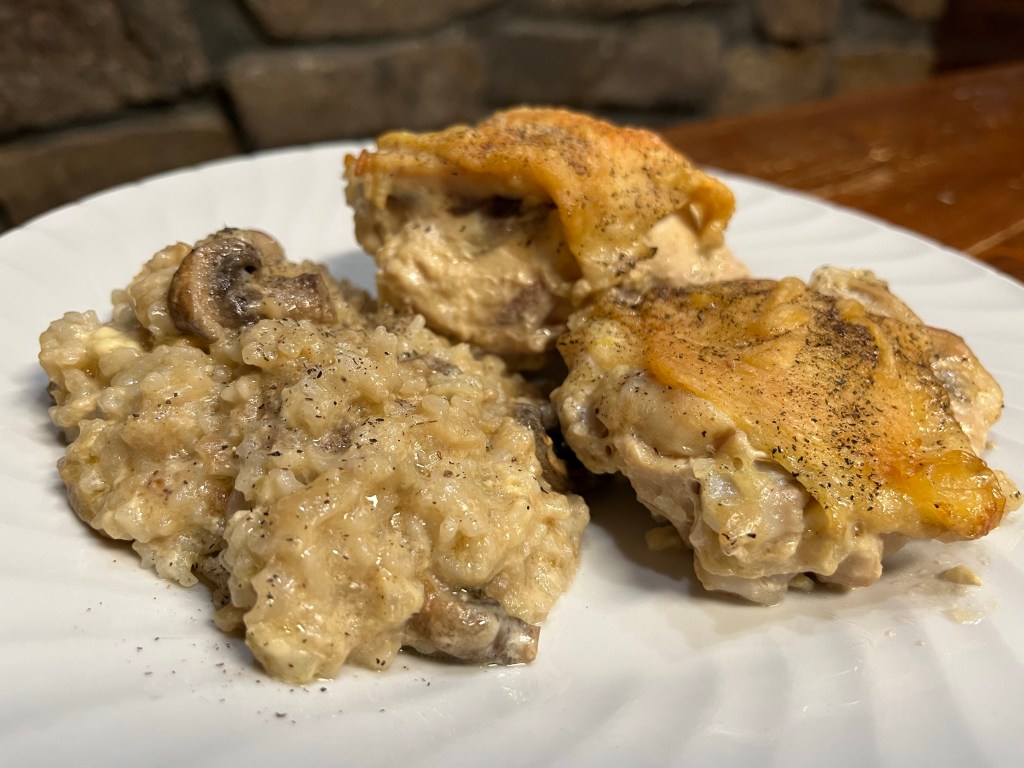
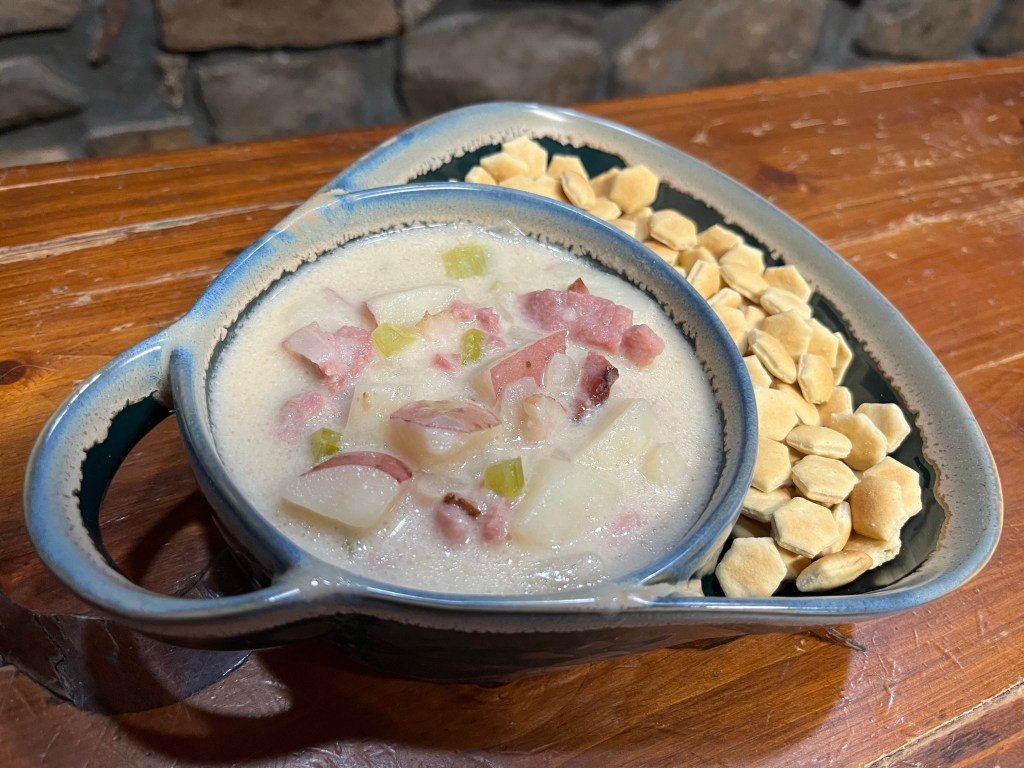
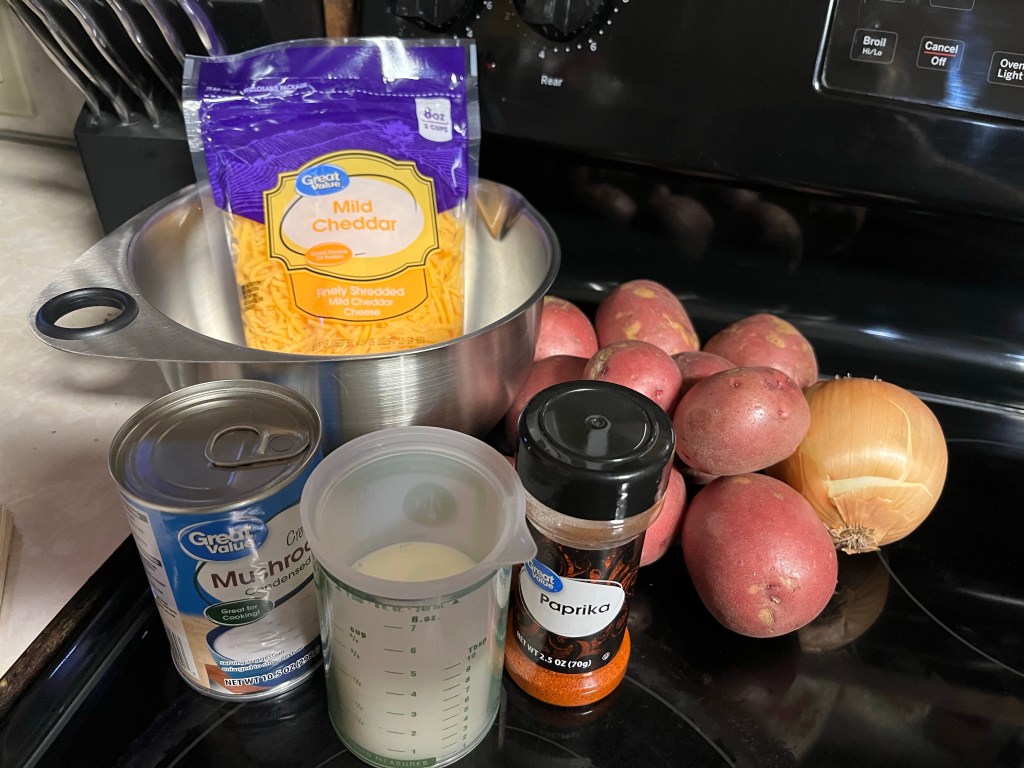
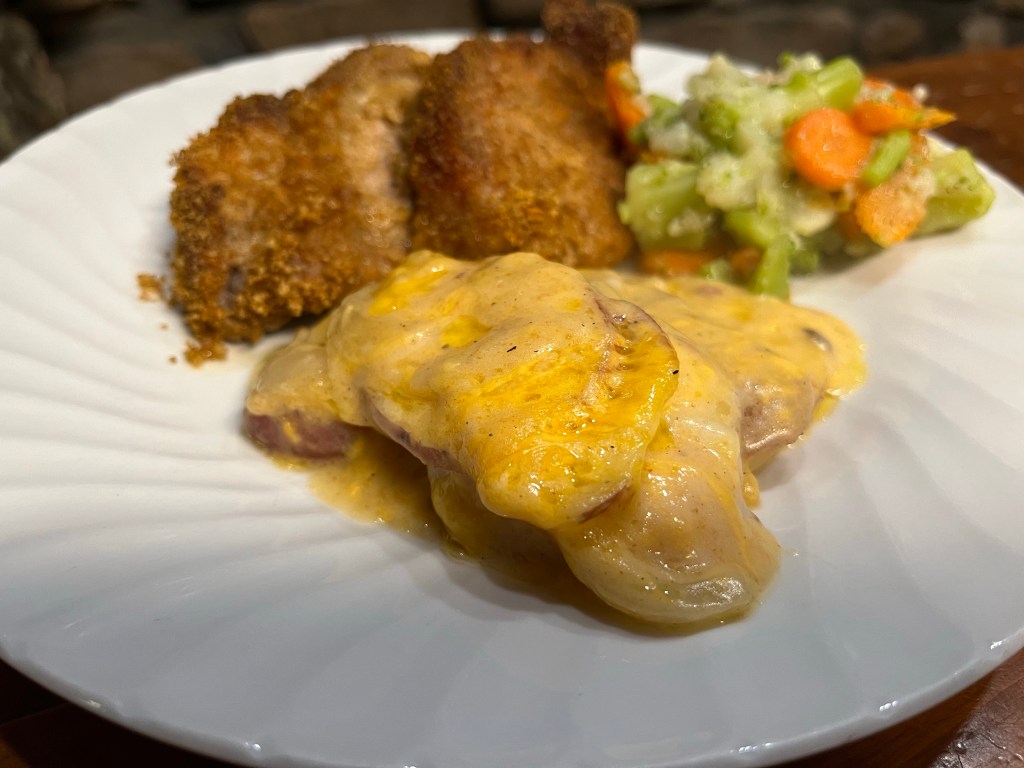
My own Mama made something similar to this recipe my whole life. I did do a couple of things different. I used minute rice, cooked it at 350° for 1h and 15 minutes, added 1/2 cup more milk and I put the rice mixture on the bottom so the skin would be crispy. Oh! And I added salt and pepper to the top. It didn’t say anything about doing that for some reason. AND I added mushrooms because we are mushroom people🤷🏻♀️ Enjoy!!!